

Welcome to another installment in our series ‘101 for $1.01’ – Gift Wrapping! I love receiving beautifully wrapped gifts as much as I love the present inside. Spending time wrapping lovely presents adds a little something special to the gift. My only problem is the cost of gift wrapping necessities. Bags, bows, ribbons, and paper can be super pricey. So what can you do to decorate fabulous boxes and save your pennies for the gifts inside? Welcome to Gift Wrapping 101 for $1.01!
 |
| Creative and cost saving gift wrapping |
There are many ways to wrap presents if you want to be creative. I like to save tissue paper from gifts I receive and sometimes even the gift wrap itself. You can always reuse gift wrap, or use it to create letters to decorate presents to come. Colored tissue paper can be repurposed to wrap festive presents in the future. The cost is nothing and the color will dress up any occasion.
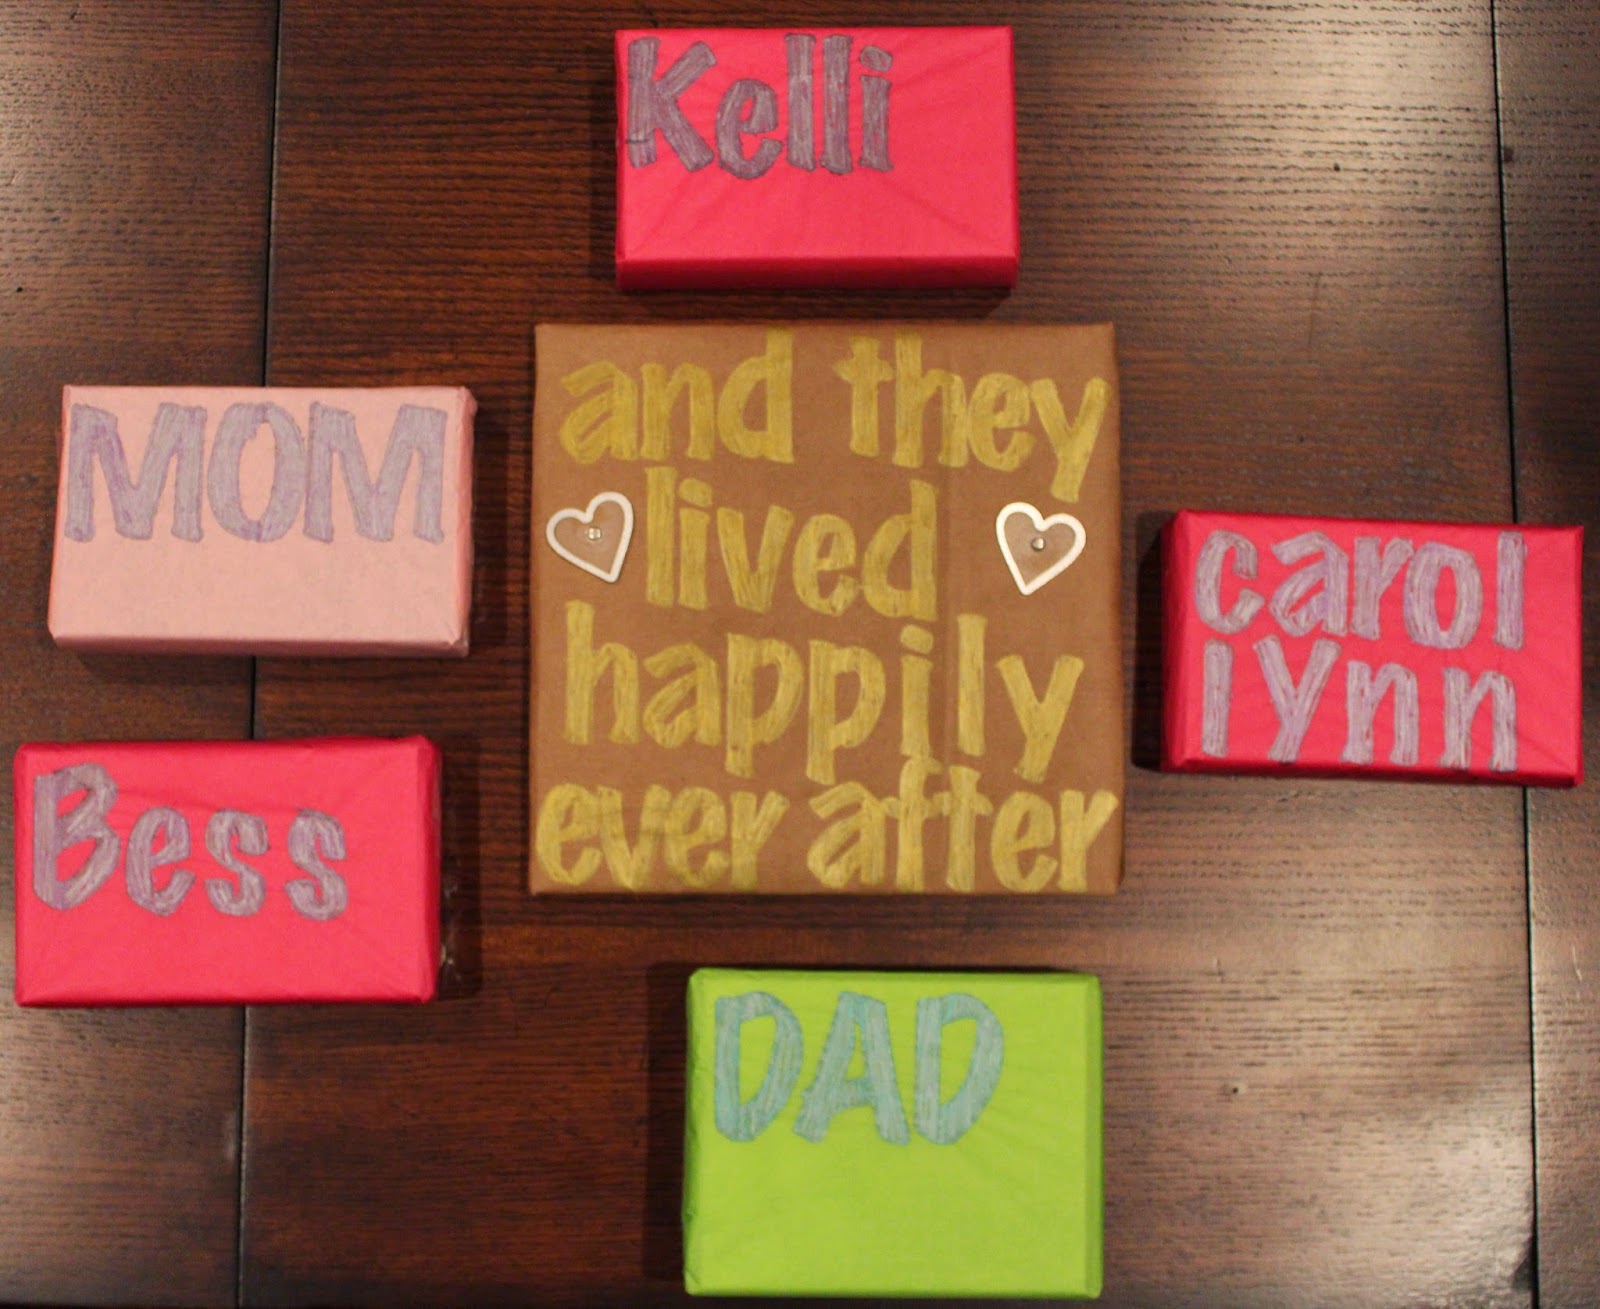 |
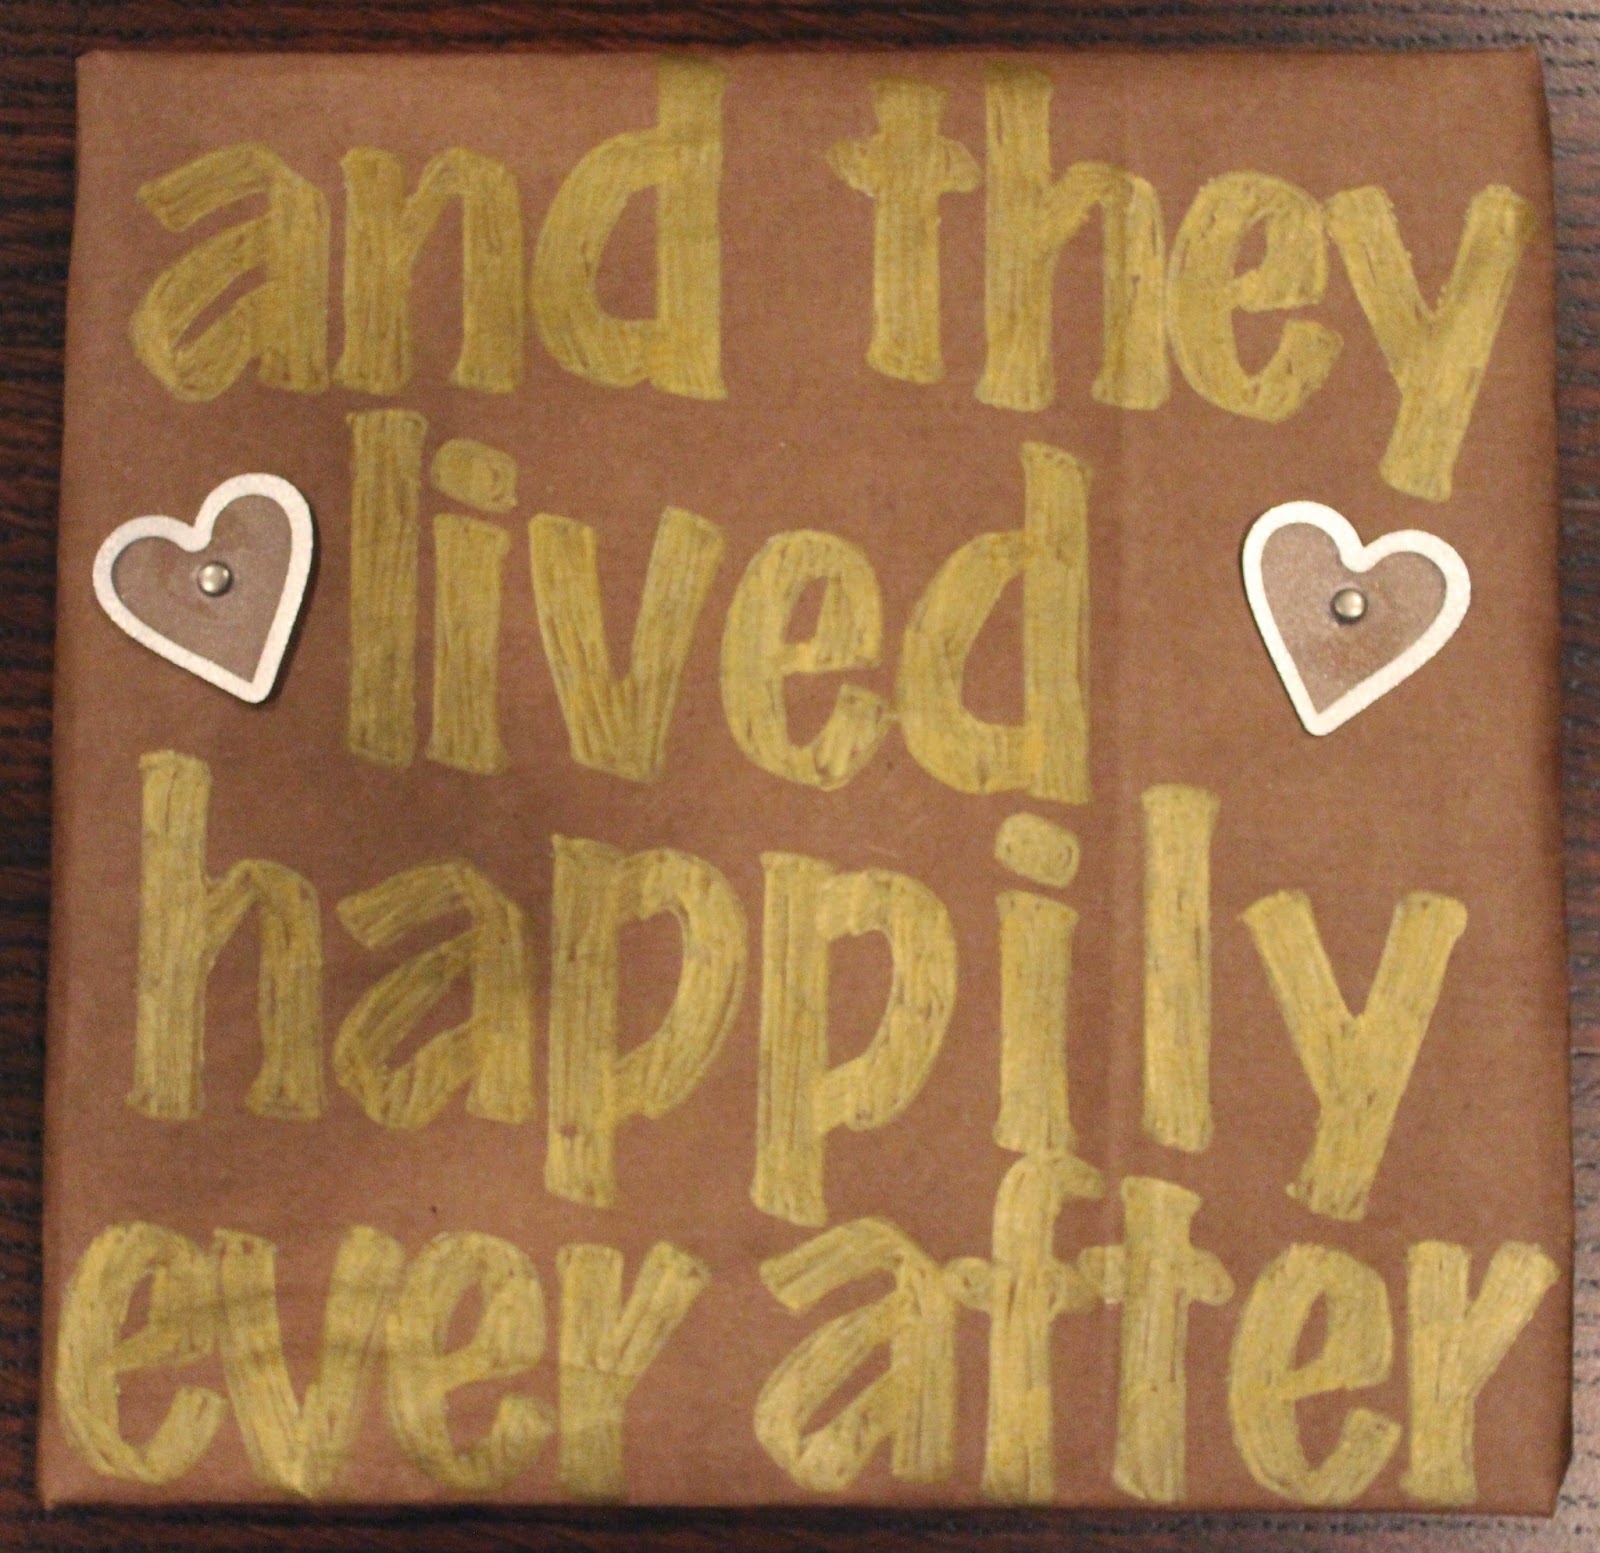
| Reuse colored tissue paper to wrap gifts |
The photo above shows the gifts I gave out to my bridesmaids before my wedding. I wrapped something special also for my parents and Tripp. Saving stickers or greeting cards also is a great idea. The hearts on the center present above for Tripp were from a greeting card I saved and then cut and pasted onto the paper. I liked the effect – and it was free!
My favorite wrapping paper of all time is kraft paper. Kraft paper is great because it is versatile. You can dress it up or down and use any color with it. Ask for paper instead of plastic at the supermarket and save your bags. It is extremely environmentally friendly and no cost to you. For gift wrap you’ll need the items below.
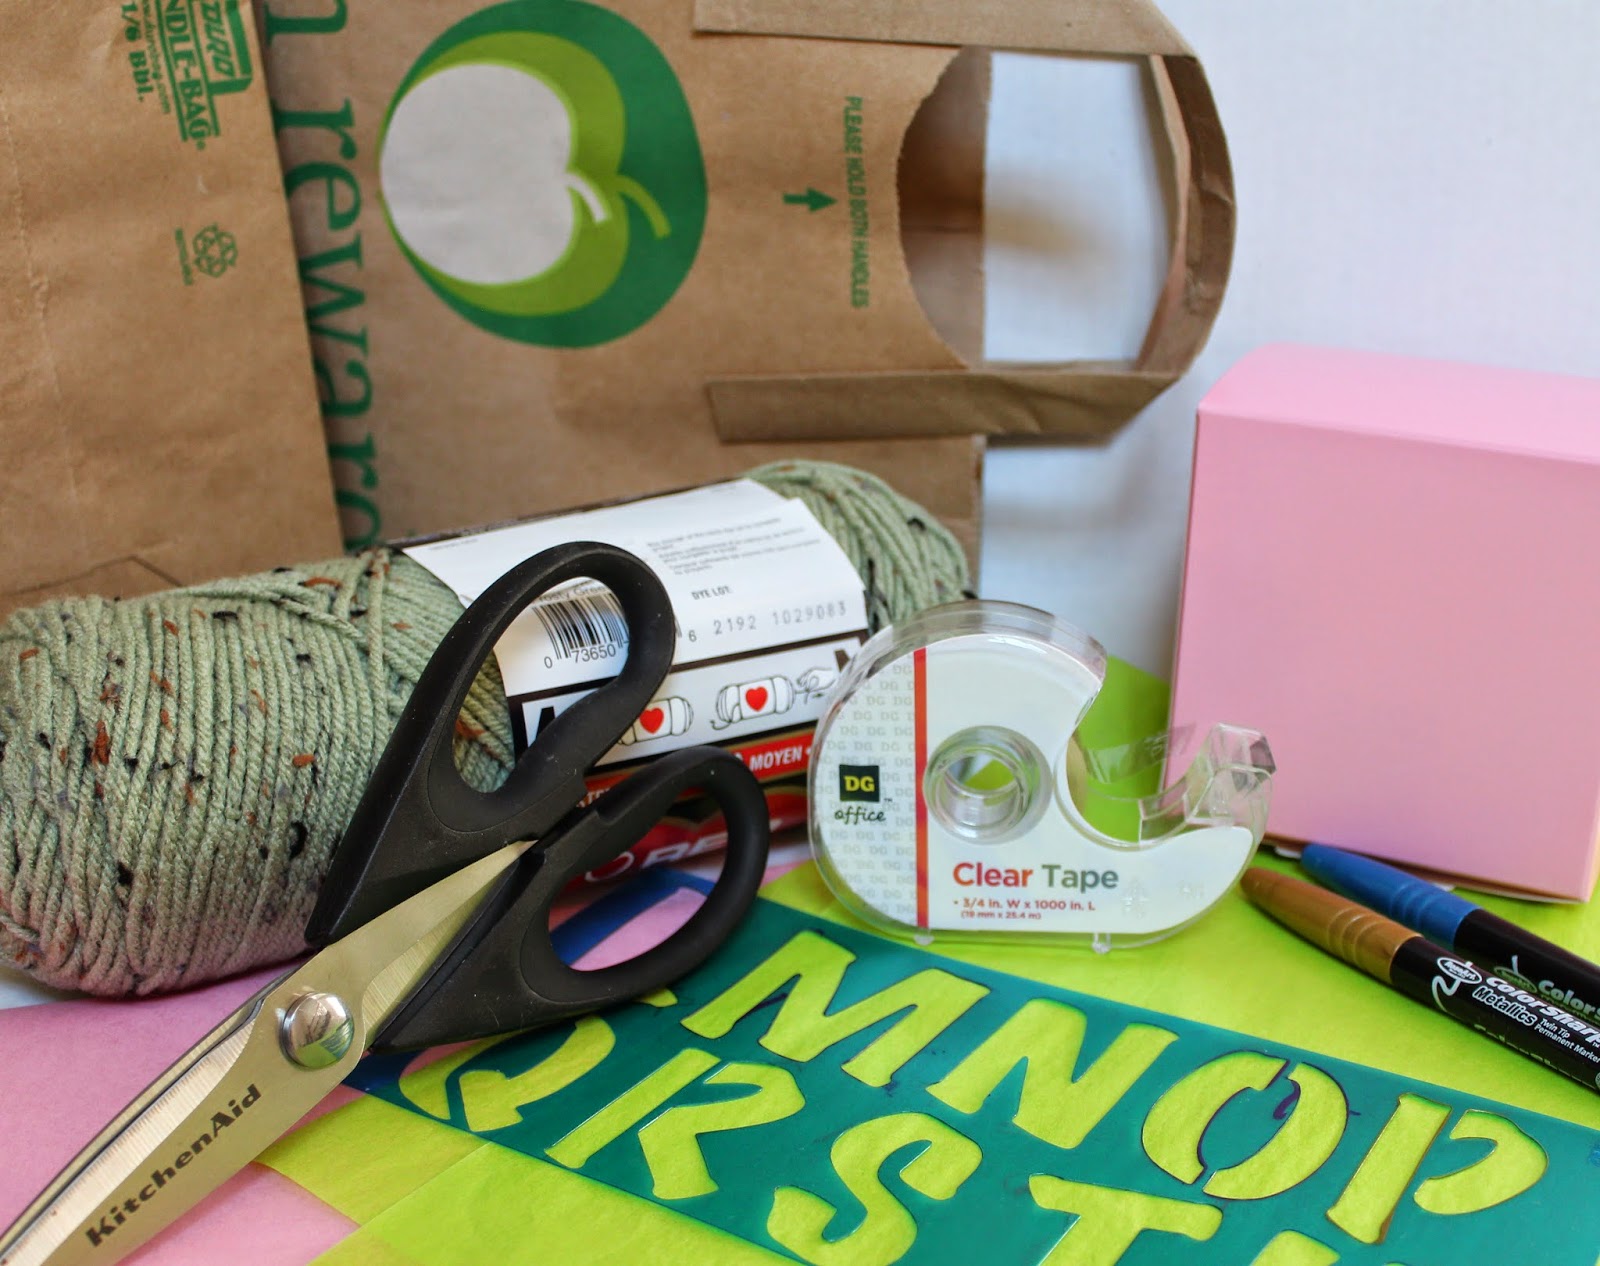 |
| Paper bag wrapping necessities |
Use the bag or tissue paper you already have. I also use a stencil I purchased at a craft store for tracing a name on the box. Combine this with ribbon, yarn, raffia, or any colorful string you have at home. Remember to use what you have! For my gift I already had the yarn, markers, tape, and stencil – and the bag was free from the market so my gift was free to wrap.
 |
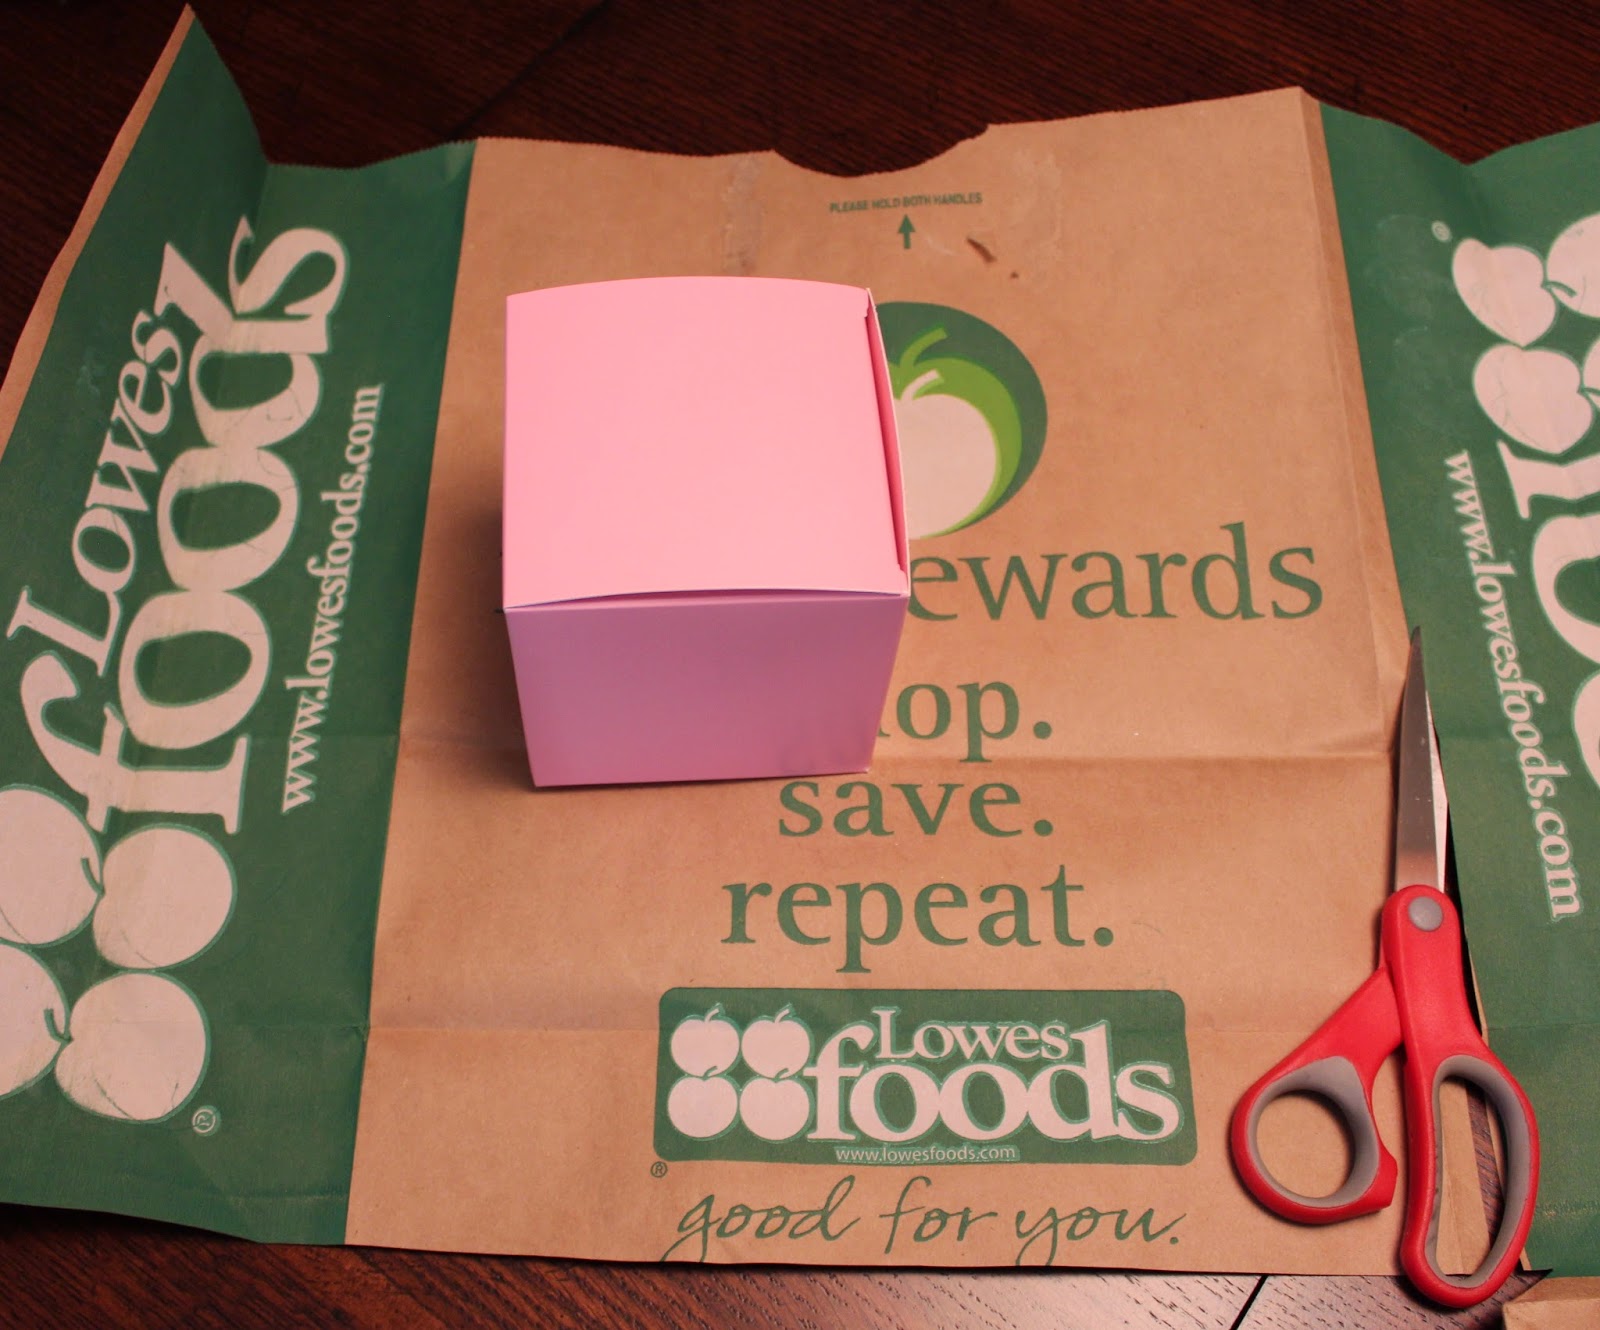
| Open the paper bag at the seams |
Open the paper bag along the seams. Place your box in the center of the paper to gauge how much paper you’ll need for wrapping.
 |
| Cut the paper to size |
Cut the paper to size and wrap as you normally would with wrapping paper.
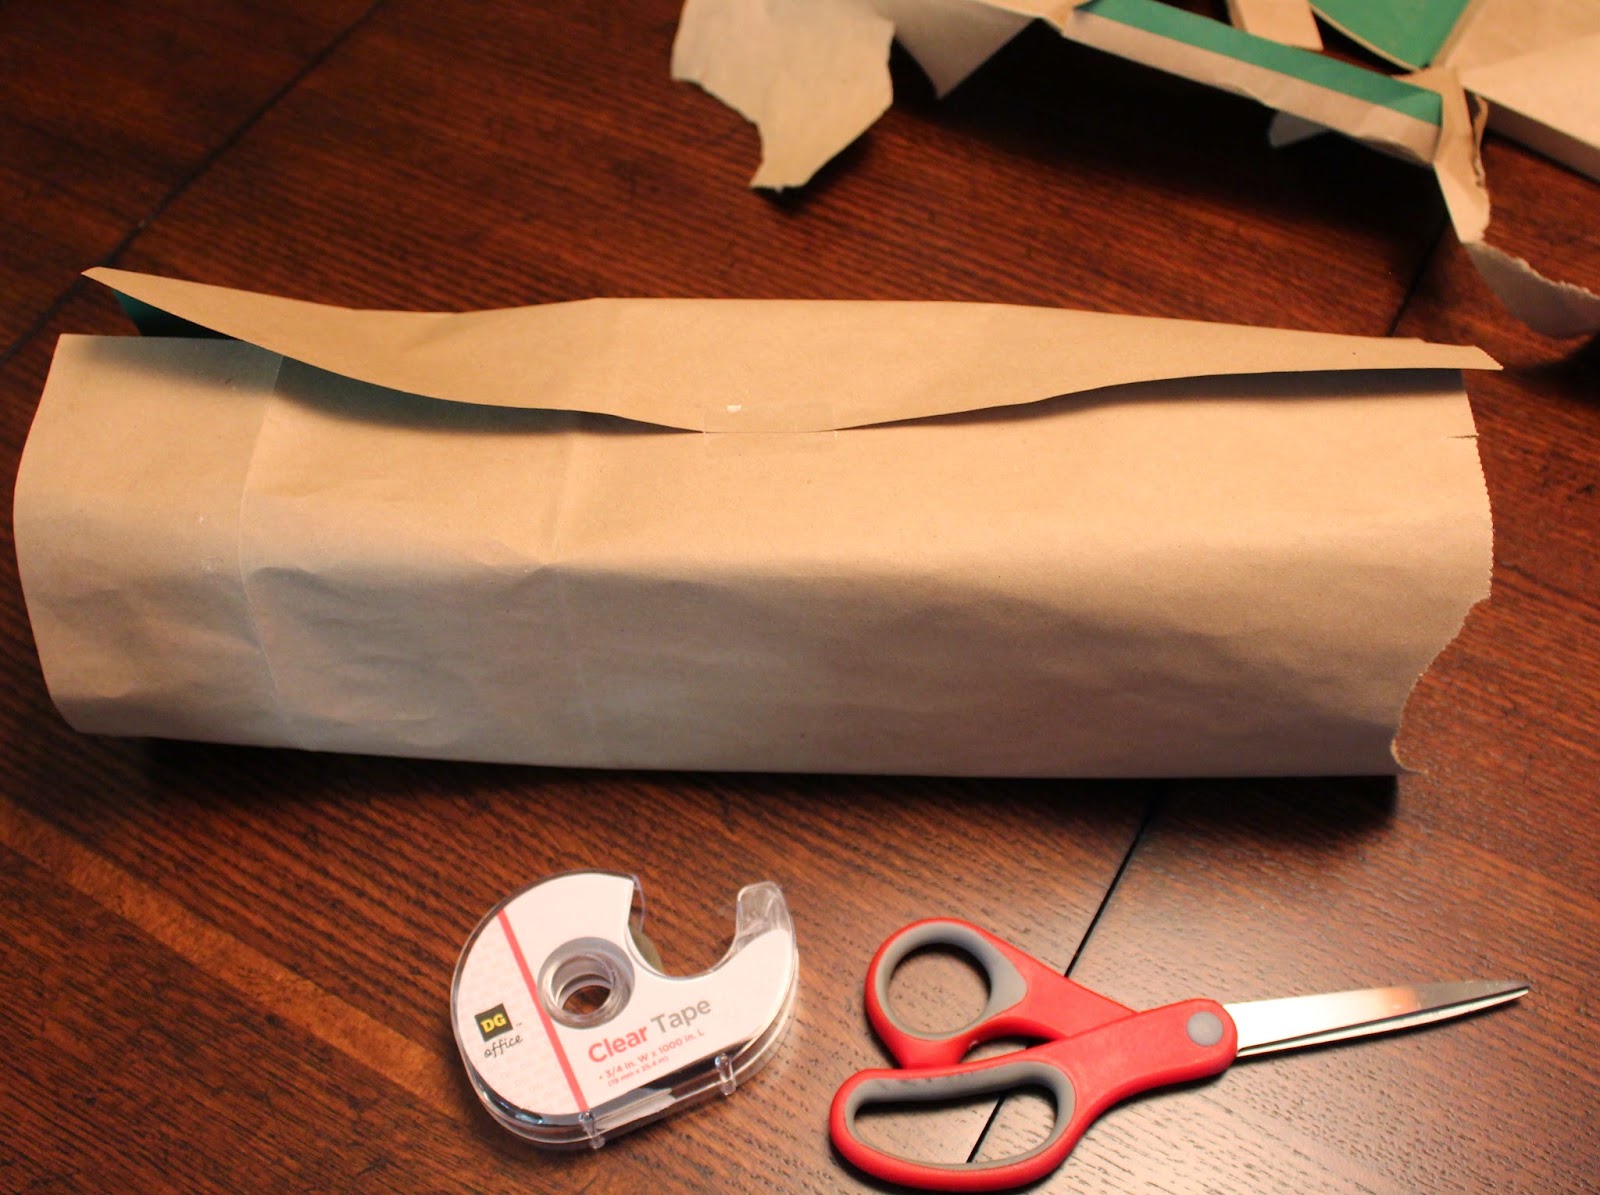 |
| Wrap your gift |
The kraft paper is heavier than normal gift wrap, but it still makes sharp corners.
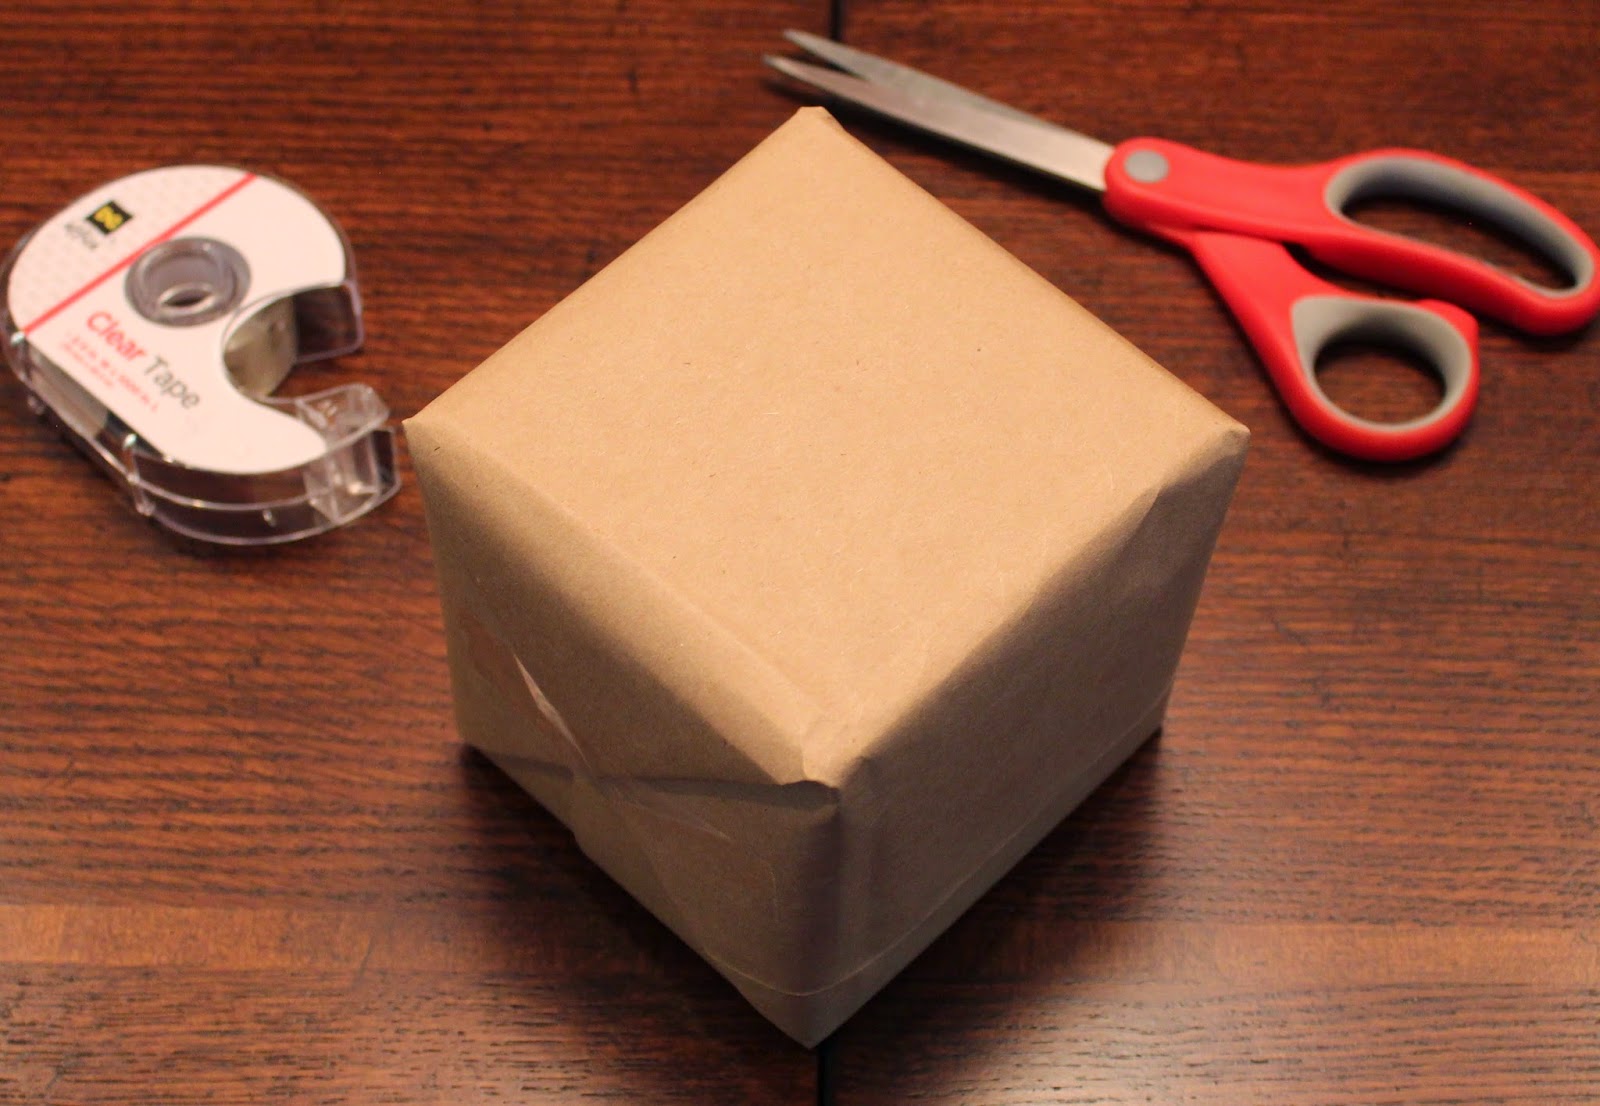 |
| Kraft paper wrapped gift |
You may choose to cut letters for the name tag from colorful paper or make your own tag. I like to use a stencil and colored marker to trace names directly on the box.
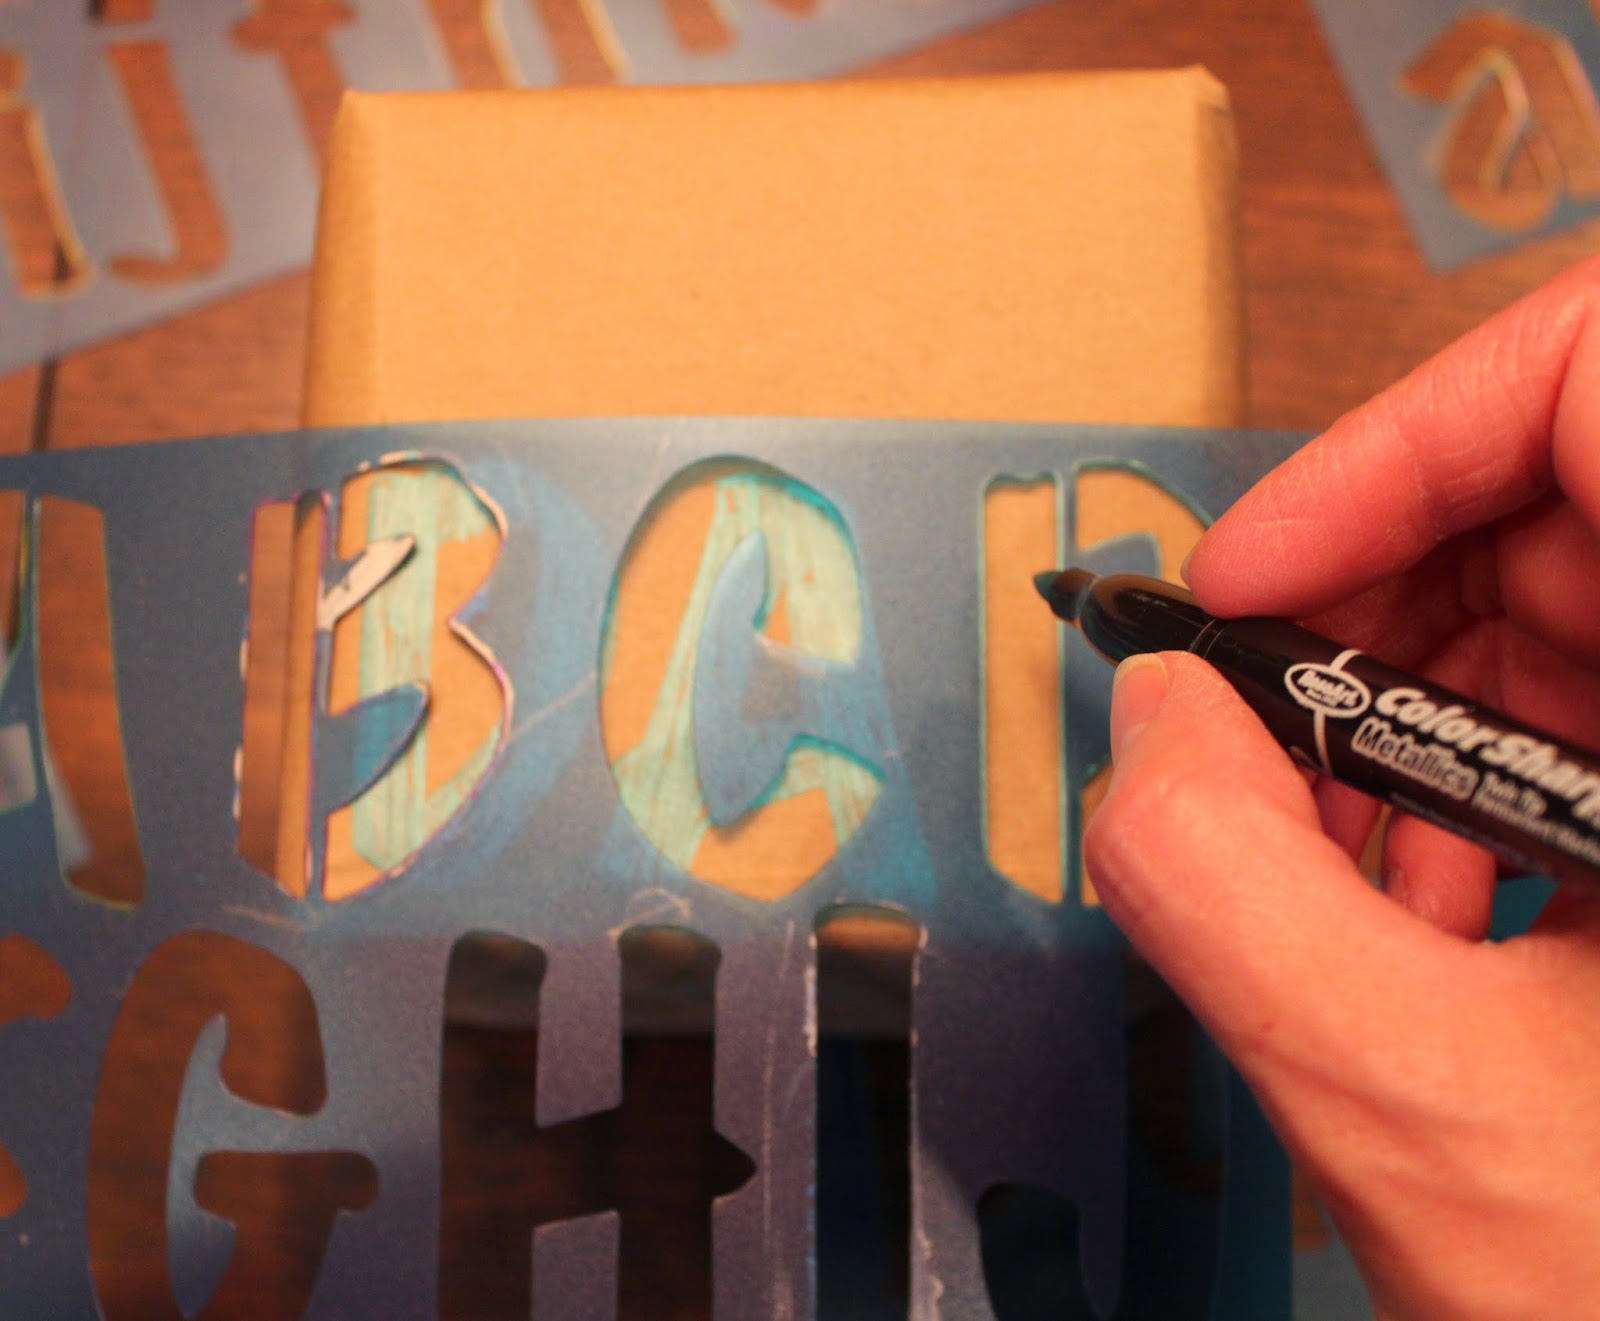 |
| Trace name on present with stencil |
For a bow, you have tons of choices. I’ll show you two I came up with. I save raffia from gift baskets or boxes. Raffia is an all purpose craft grass that dresses up everything from present boxes to gift baskets. I tied a couple of pieces around my gift. Raffia is very cheap in discount and craft stores also.
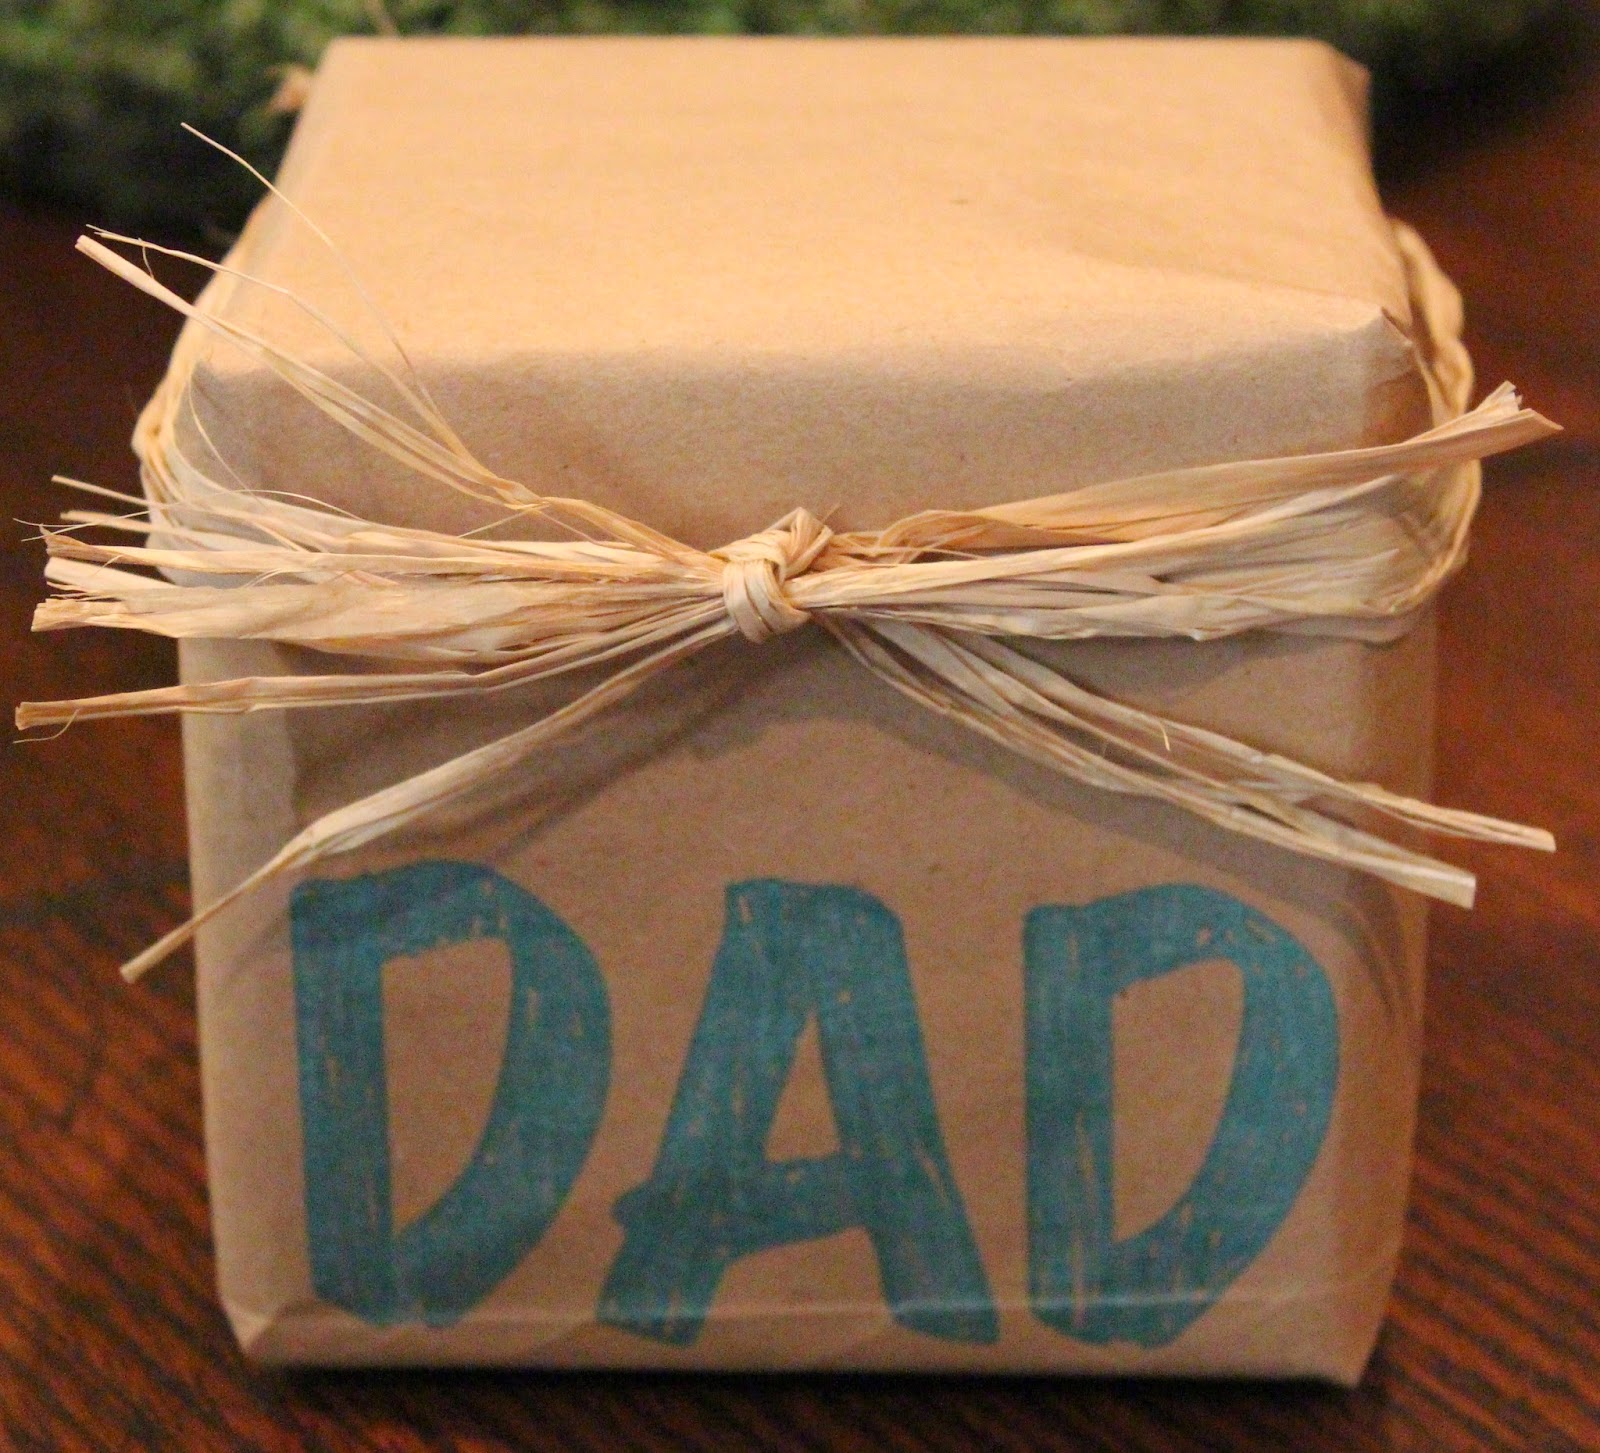 |
| The raffia effect |
Or you may choose a colored yarn or ribbon. I used a blue and teal yarn against the teal lettering. The photo doesn’t show that the colors actually blended very well. You can see the effect anyway. The goal is to create something beautiful and make it your own. Putting yourself into the gift you are giving is what makes it extra special. As long as it is coming from the heart, you won’t go wrong. Good Luck and Have Fun!
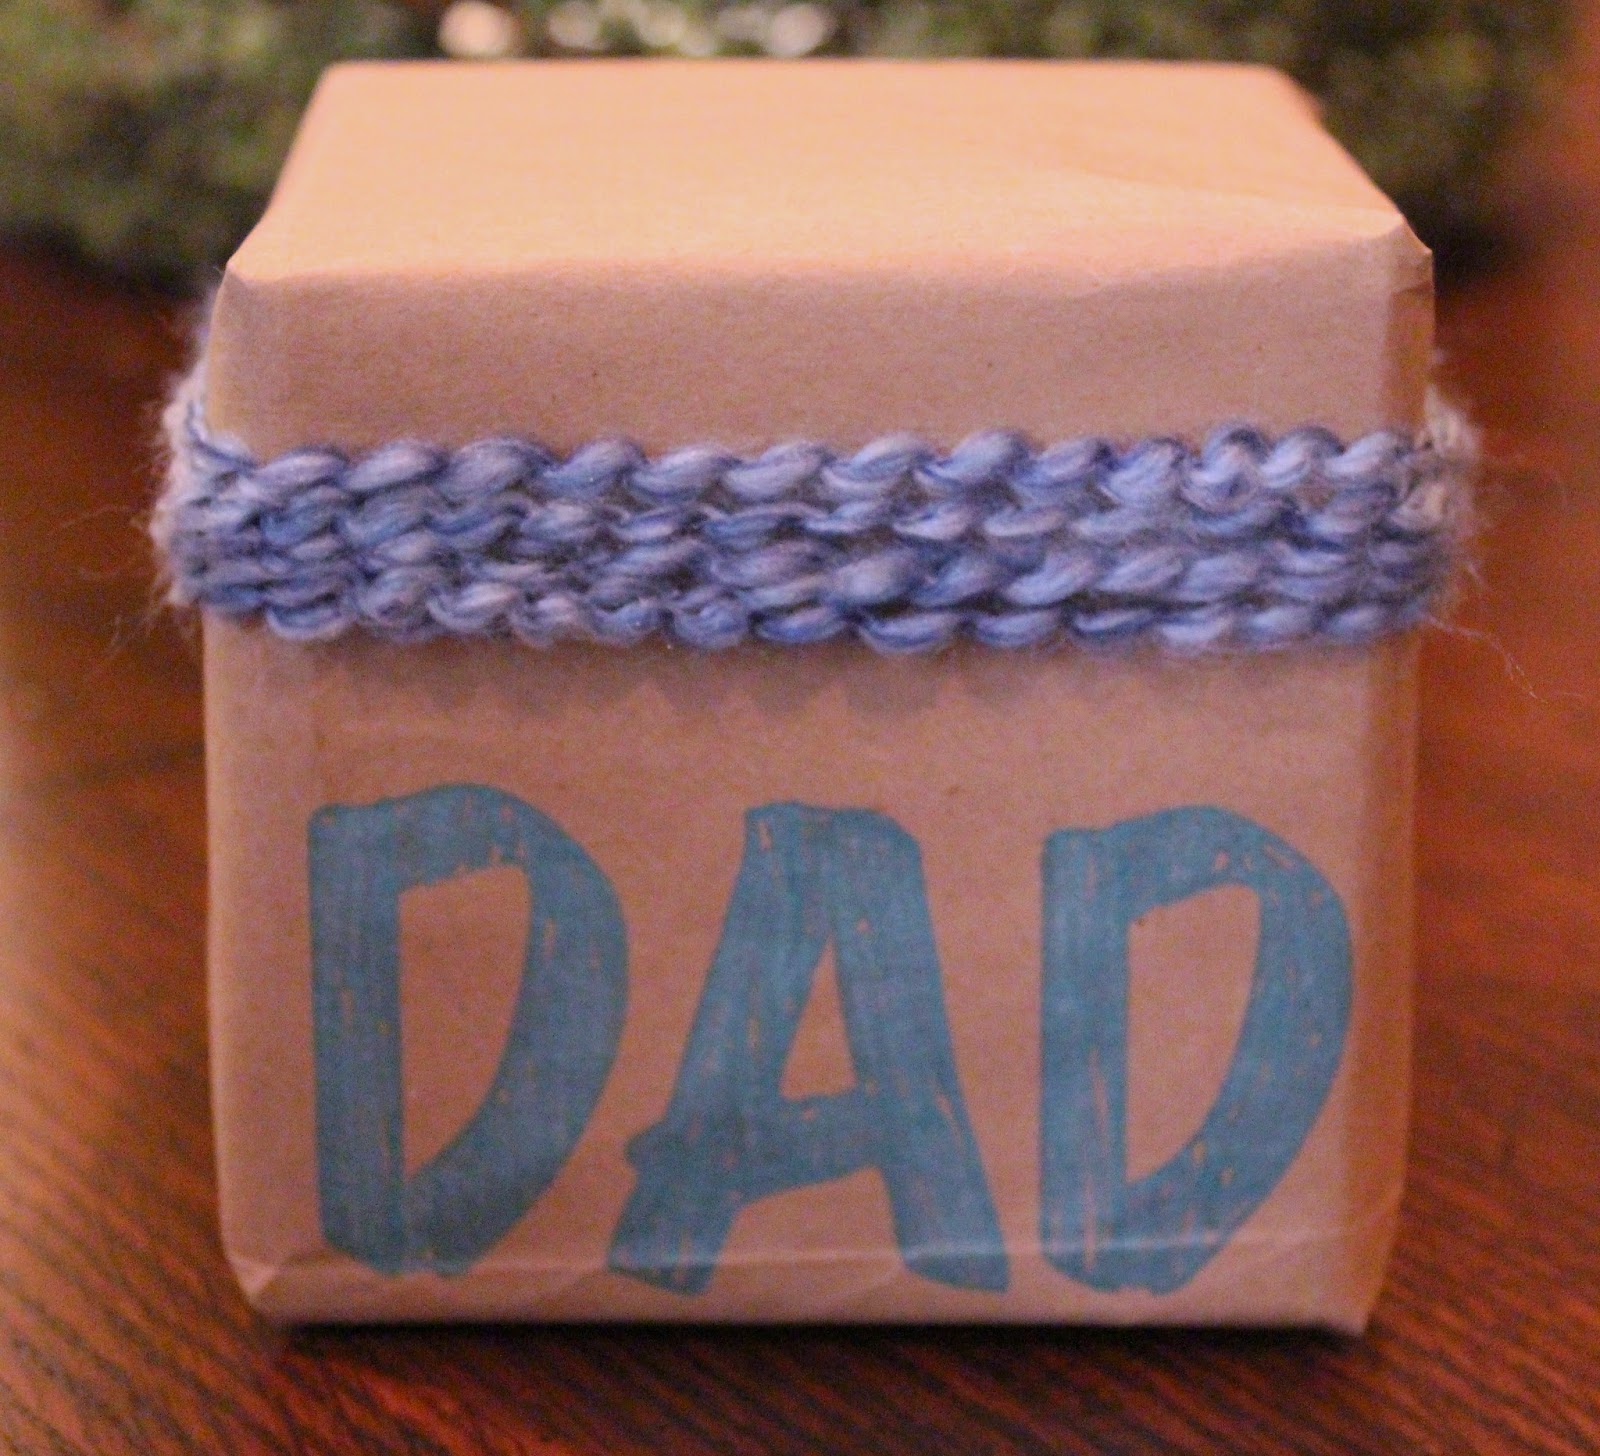 |
| The yarn effect |
#diy #costsaving #gifts