Hummus is the new ‘it’ food. It is all the rage with foodies, vegans, vegetarians, dieters, and snackers because it is delicious. Hummus is made in many different flavors and lots of fun ingredients can be added to spice it up. I love hummus but not all of the ingredients are readily available in a typical pantry, so I thought I would try a twist on the recipe. For my “hummus,” I used northern beans instead of chick peas and tahini. This way you need four ingredients: beans, olive oil, one garlic clove, and salt. The cost is less than $ 1.25 for a bowl and it literally takes 5 minutes – the kitchen is clean in 10! The result is an inexpensive “hummus” bean spread that is great with toast or chips and delicious on sandwiches (especially roast beef). It works very nicely as a low fat and extra fiber alternative to mayo on sandwiches and wraps too!
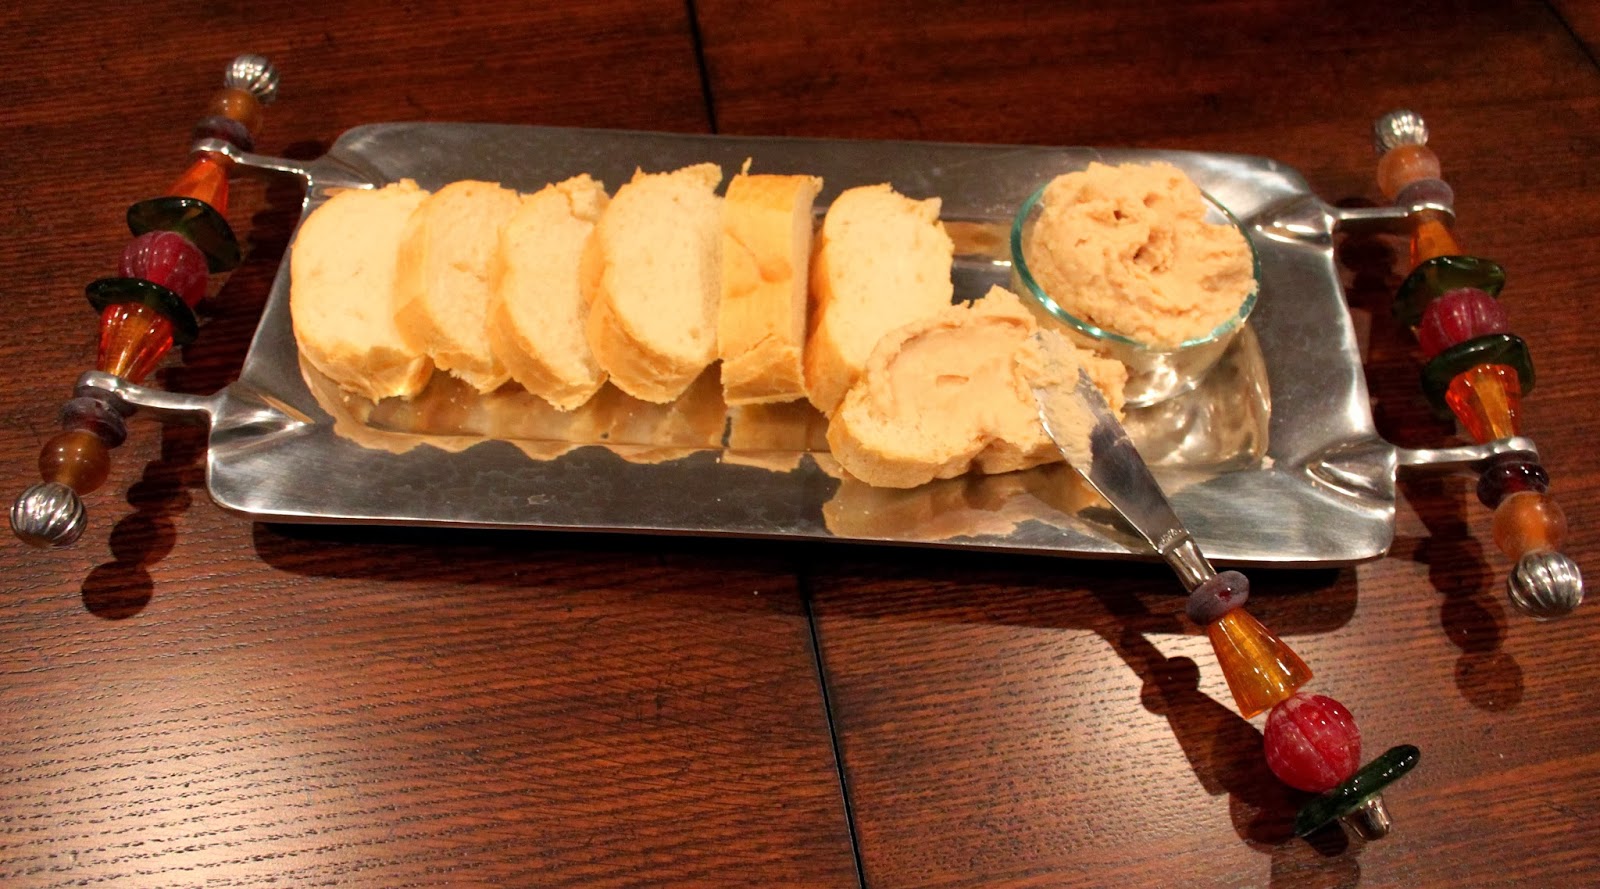
Serve with Bread, Crostini, Chips, or Crackers
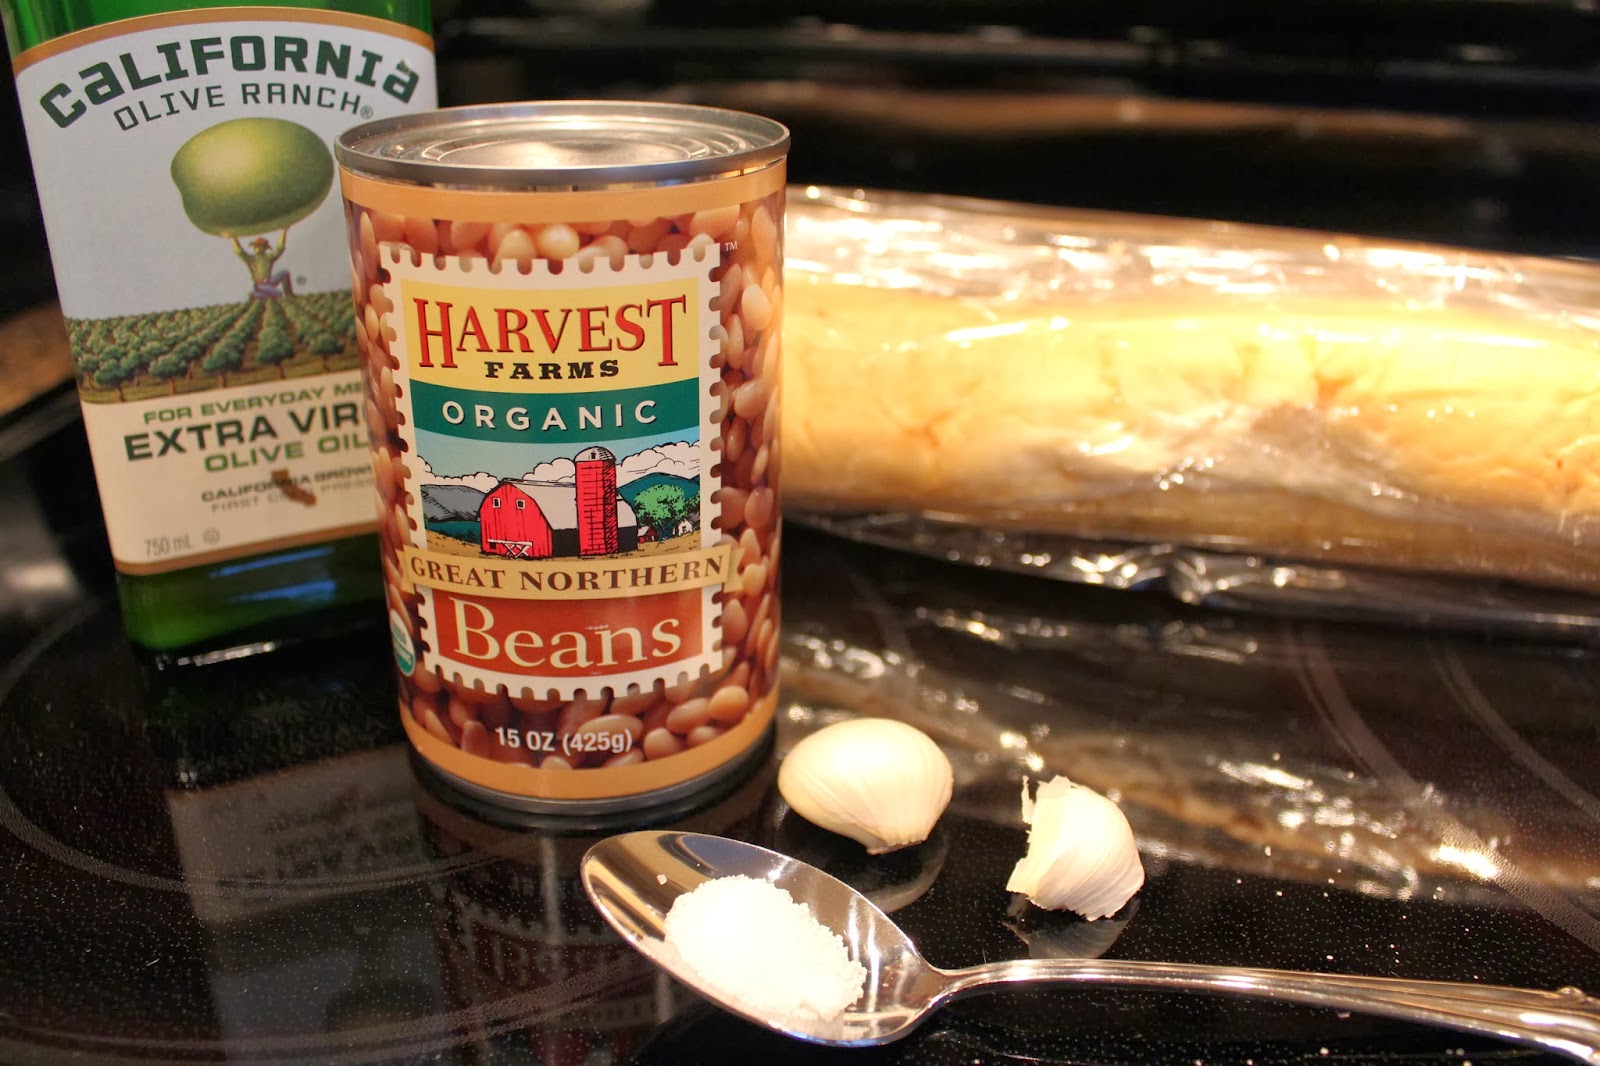
Start with a couple of tablespoons of olive oil, one can of northern beans, a pinch of salt, and a clove or two of garlic. I purchased organic beans on sale for $.89 per can so the cost is minimal. This is not an exact science. If you like more garlic, add two cloves. If you are on a low sodium diet, forget the salt.
Easy Ingredients
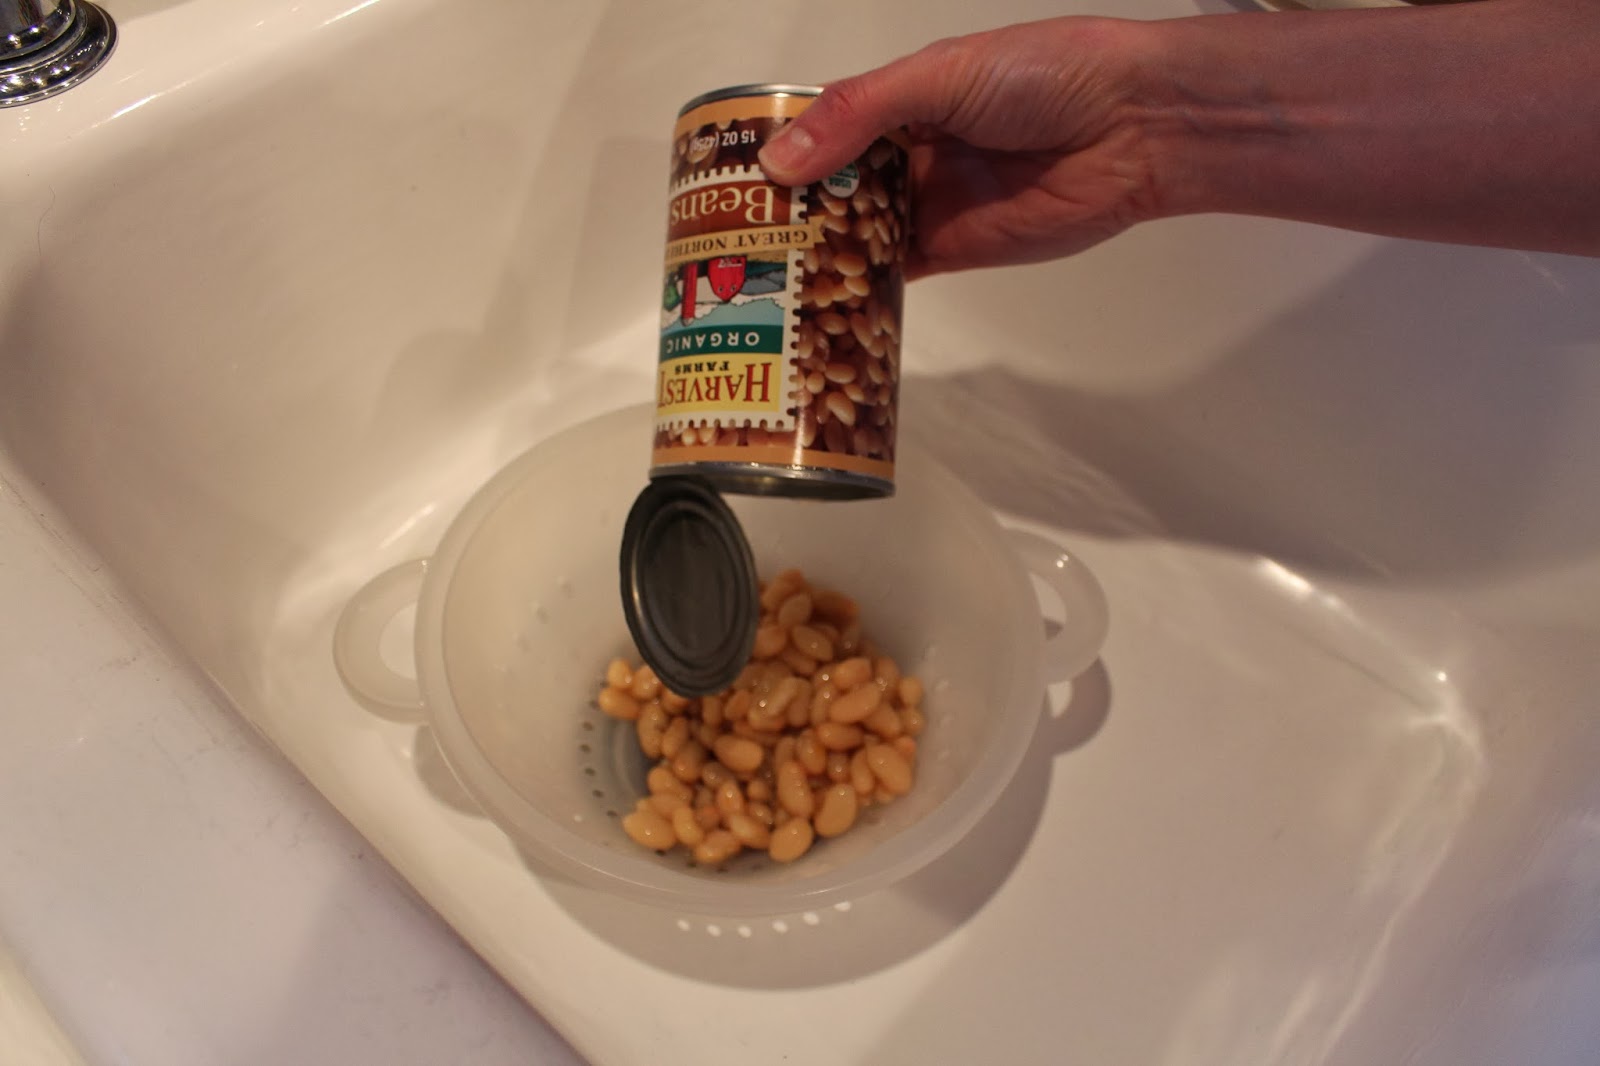
Drain the beans into a colander in the sink. I do this because even though I used organic beans, I don’t like the liquid in which they are packed.
Drain beans in colander
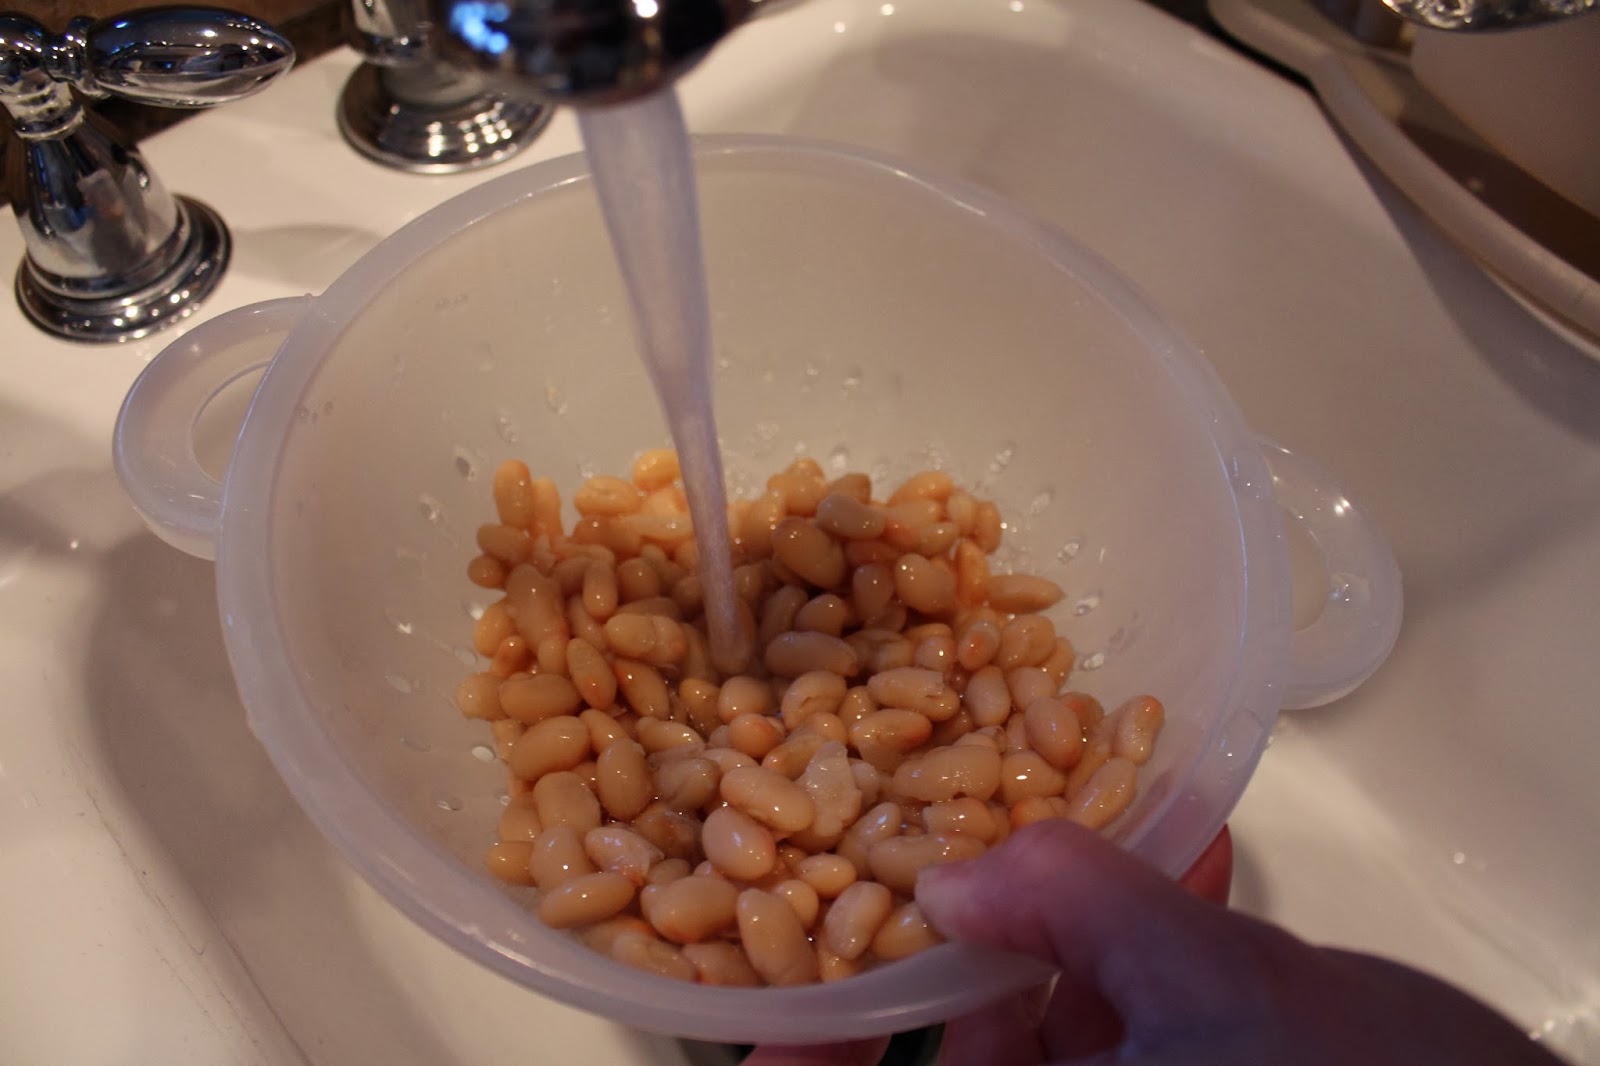
I rinse the beans also. I just like to, it doesn’t matter if you do or not.
Rinse beans with cool water
Add beans to food processor.
Adding beans to Cuisinart
Next add garlic cloves – add two if you like a bit of a kick.
Peel garlic clove and put whole clove into processor
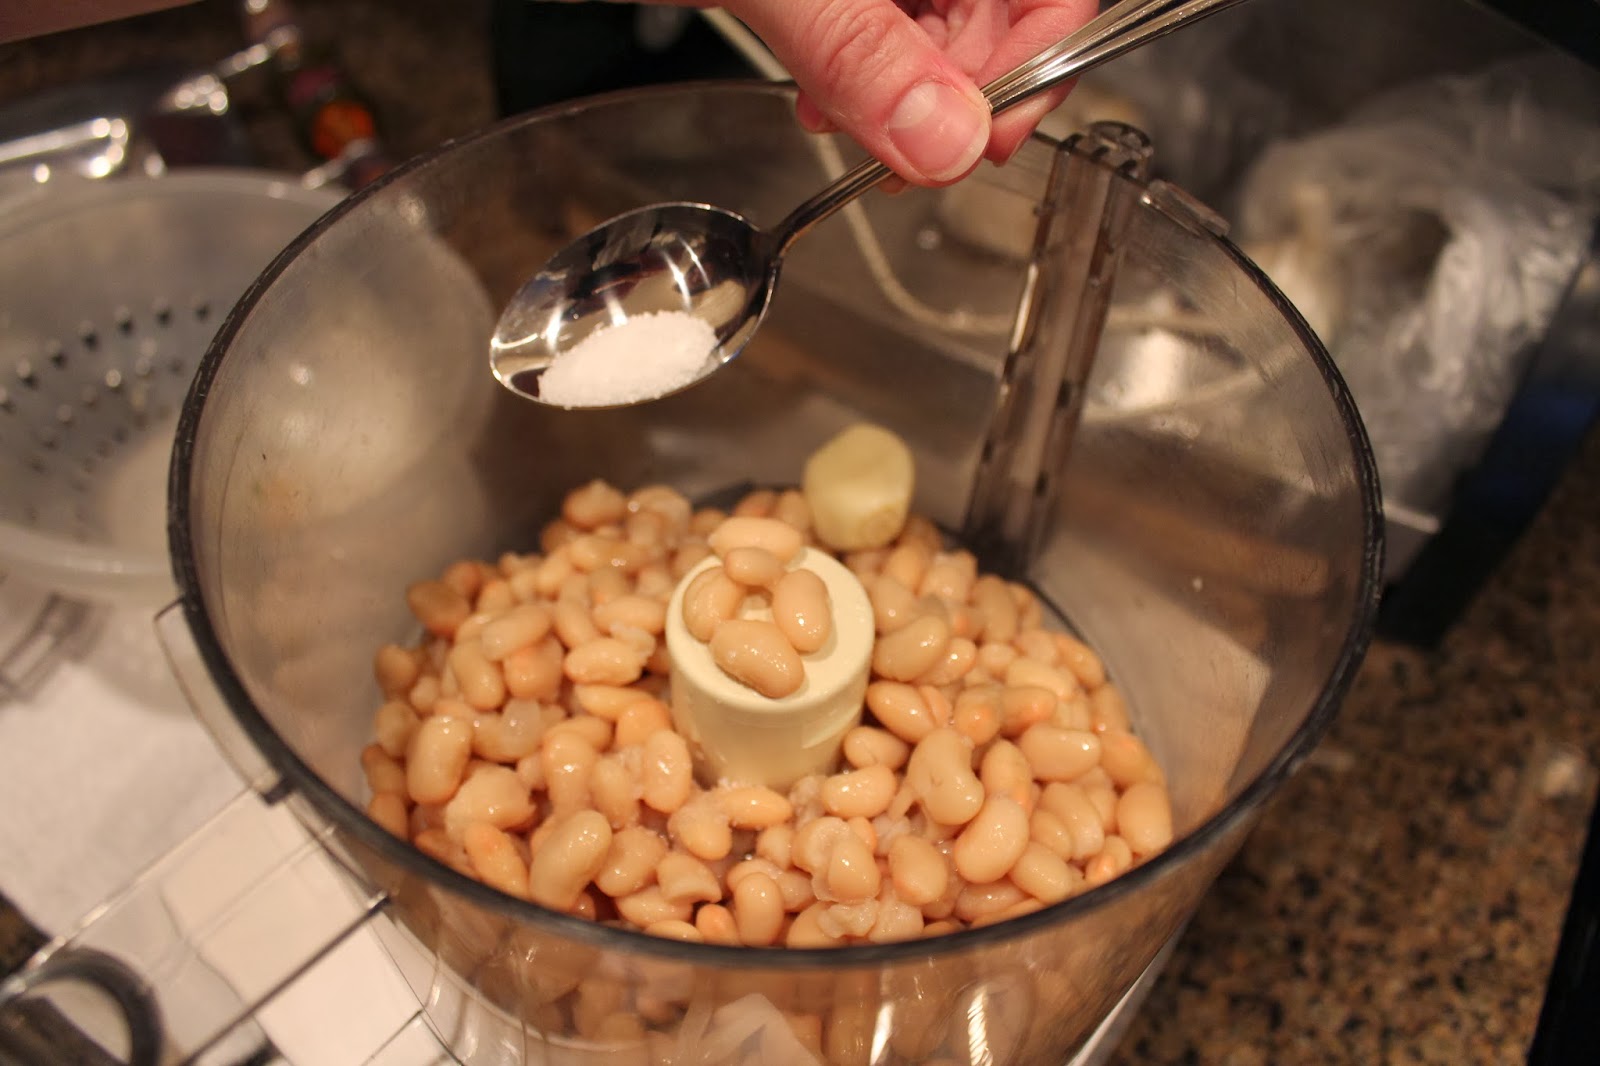
Next add a pinch of salt. I use sea salt.
Salt into the processor
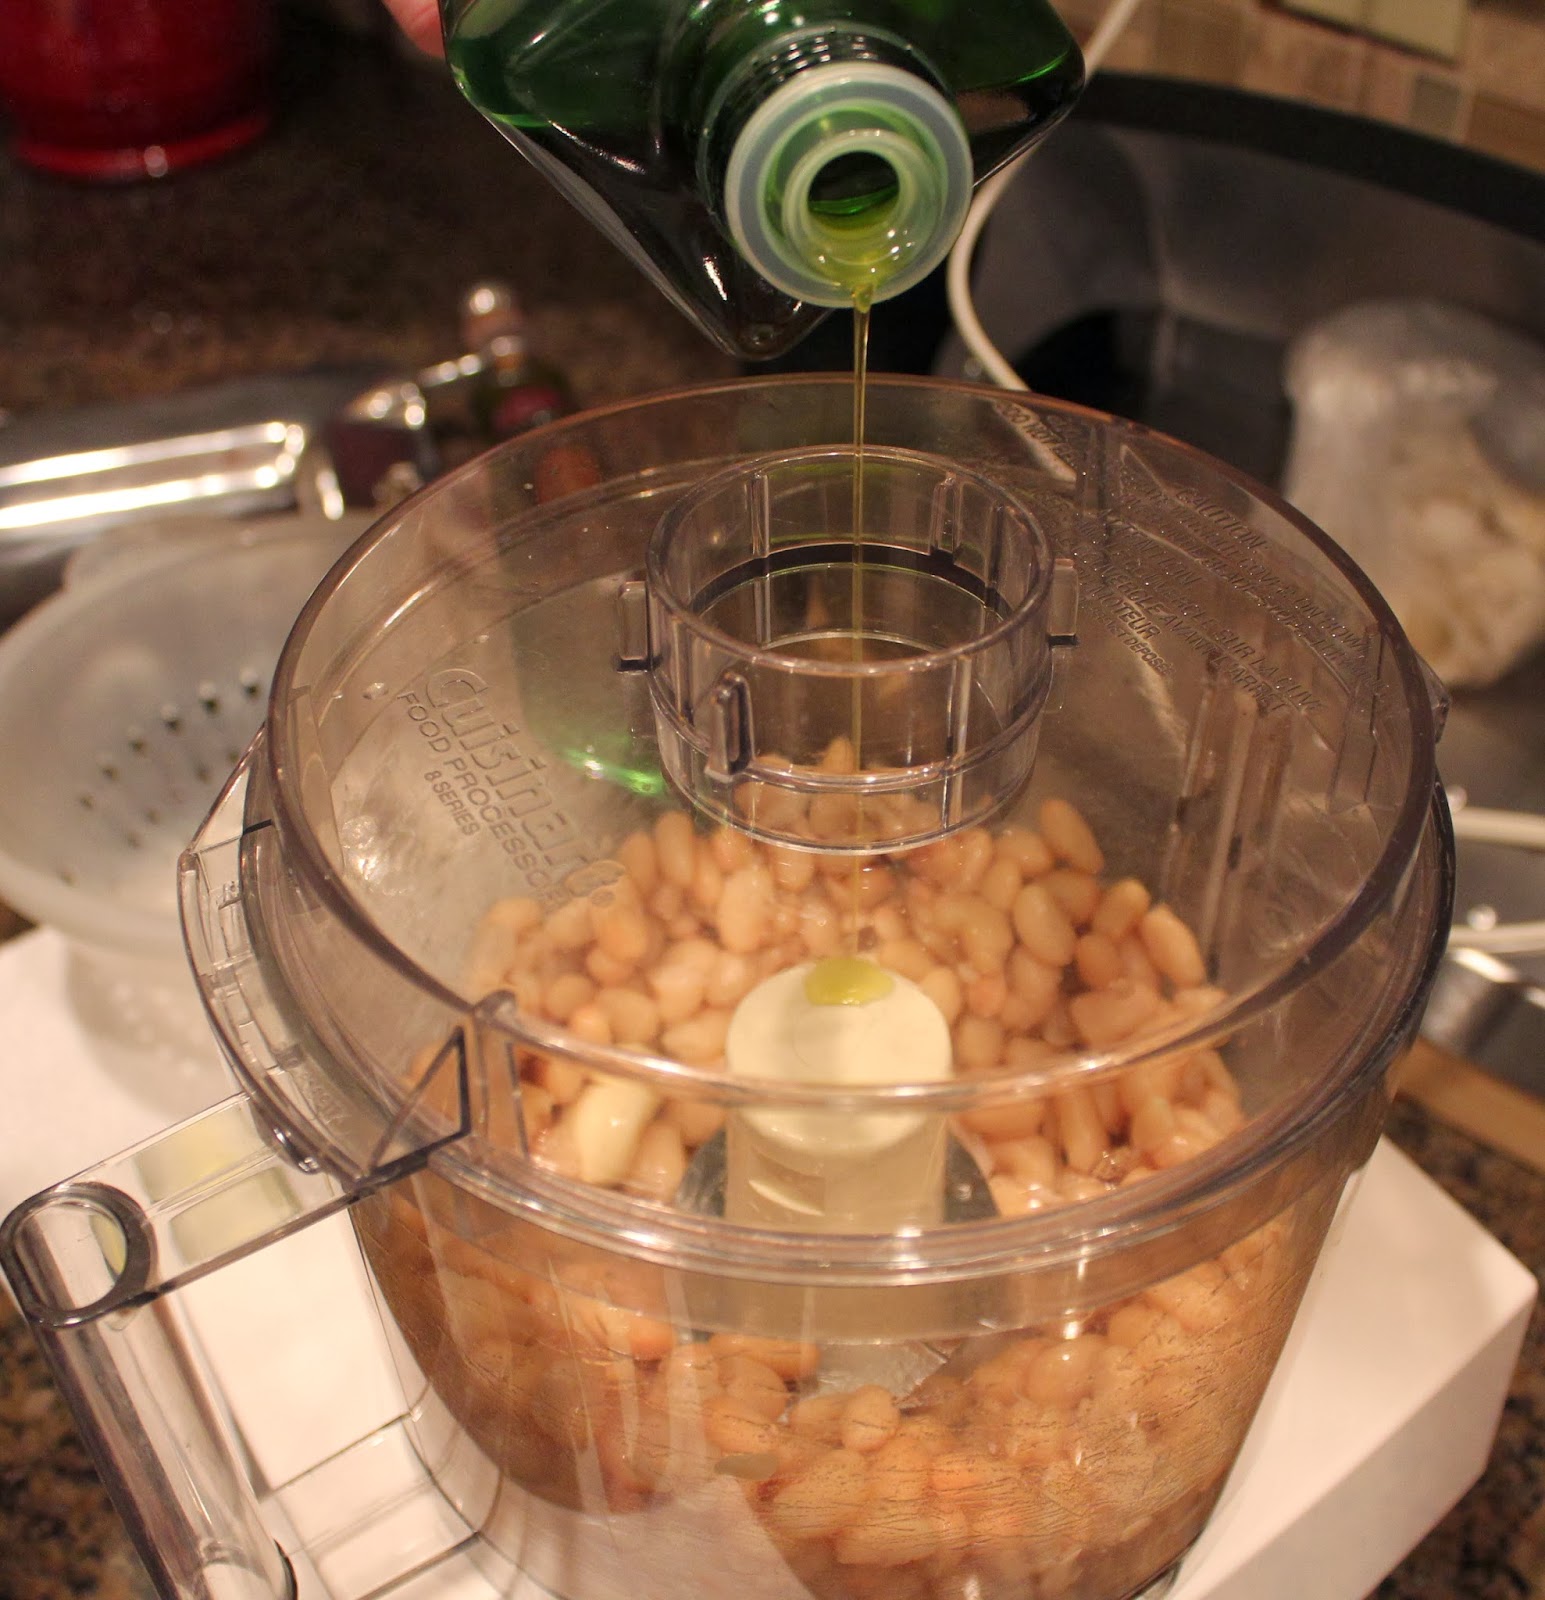
Place lid onto food processor and add olive oil through the top. I estimate that I use a couple of tablespoons.
Olive oil through the lid
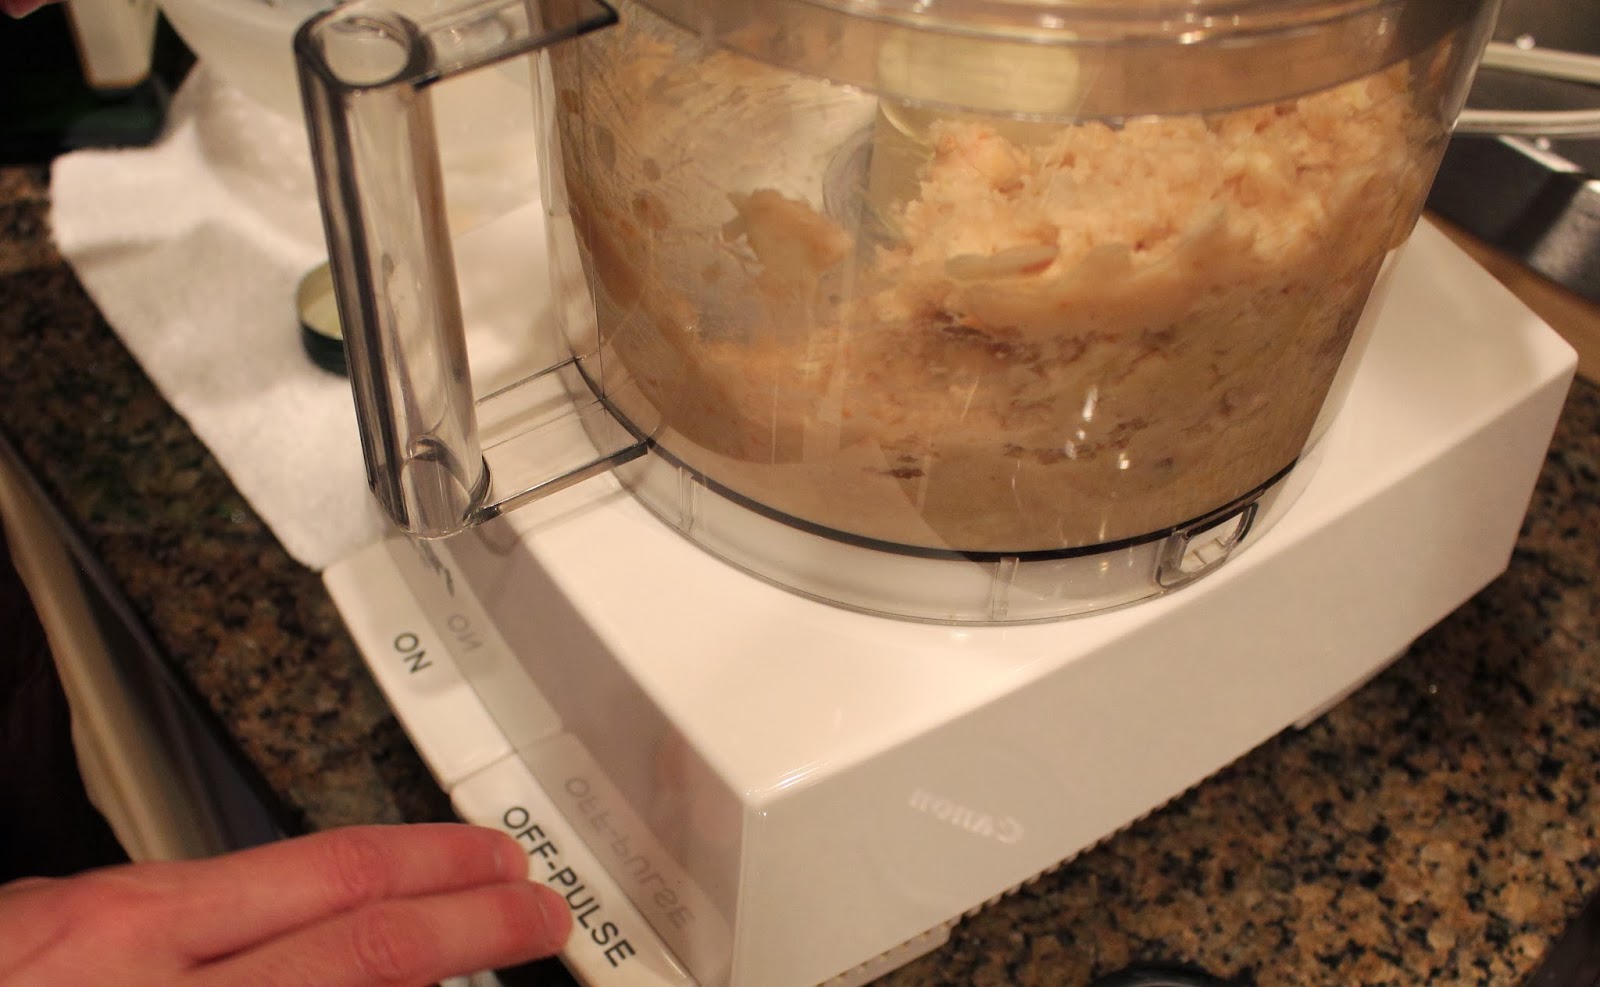
Pulse the food processor several times. I don’t like to hold the button continuously because it blends very quickly and you want to monitor the consistency.
Pulse, pulse, pulse
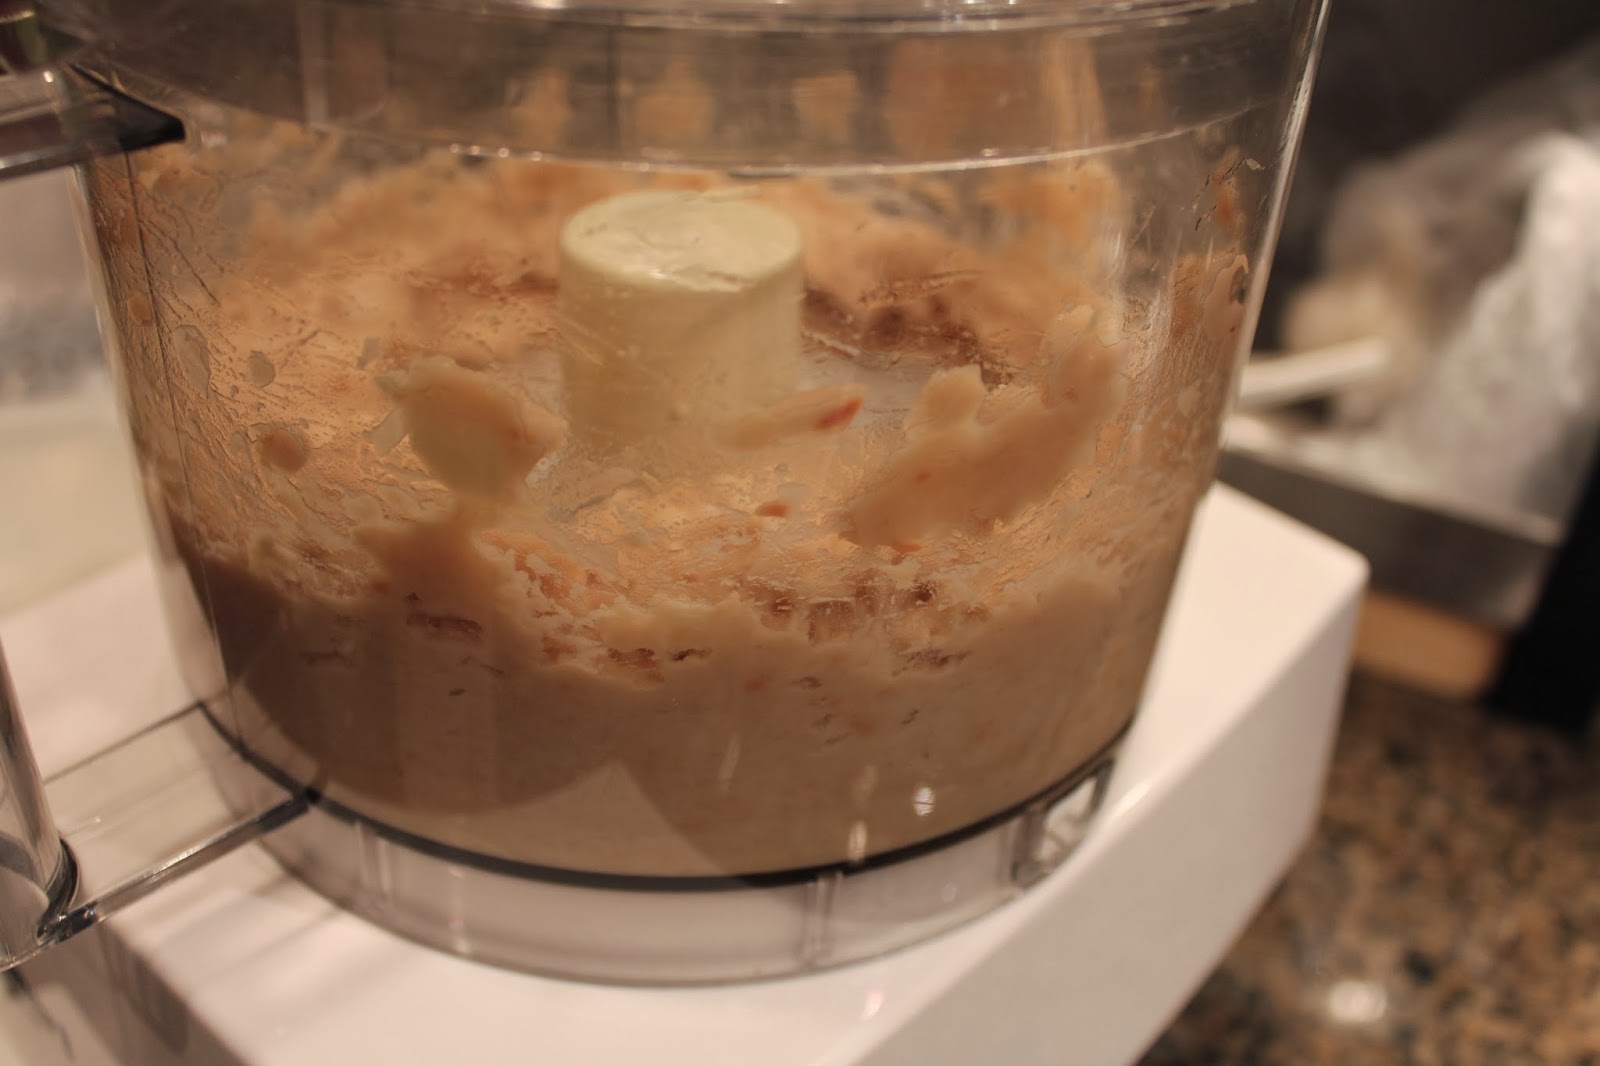
The texture of the dip needs to look like this. You may blend to suit your preferences.
Homemade “hummus”
Serve on a tray with toast, pita points, or chips. It stores very well in the refrigerator for use on sandwiches, wraps, or salads. It is also great for experimenting adding maybe onion, peppers, grated cheese, or herbs. I love it because it is a low fat substitute to oils and mayo for lunches so you feel great about being healthy and saving money.