

This project happened by chance. I needed a greeting card and had no time to go shopping. I wanted a card that was a little different (plus I had to use what I had in my home) – so I tried the marbled paper idea. It turned out so much better than I thought and it is super easy. The cost is minimal and the project is very versatile. You can make marbled note cards, paper, or wall art for a frame. Let’s make DIY Mother’s Day Cards!
Materials:
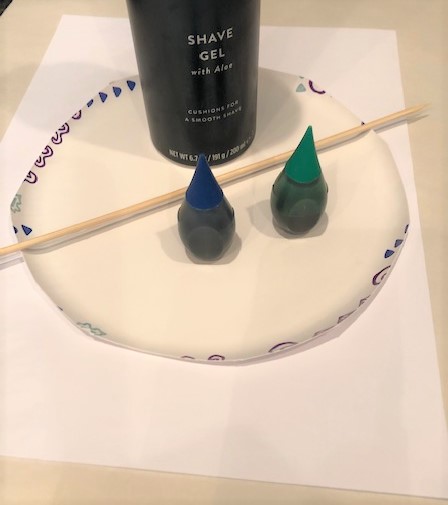
Shaving Cream / Foam (you can use gel you’ll just need to stir it a little)
Food Coloring
Cardboard Edge
Paper (copy, construction, card stock, whatever you have)
Kabob Stick or other pointed edge
Plate or container for shaving cream
How-To:
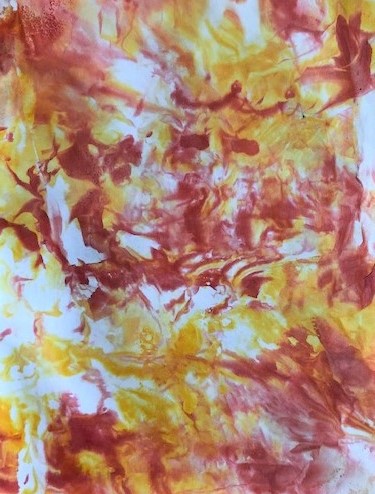
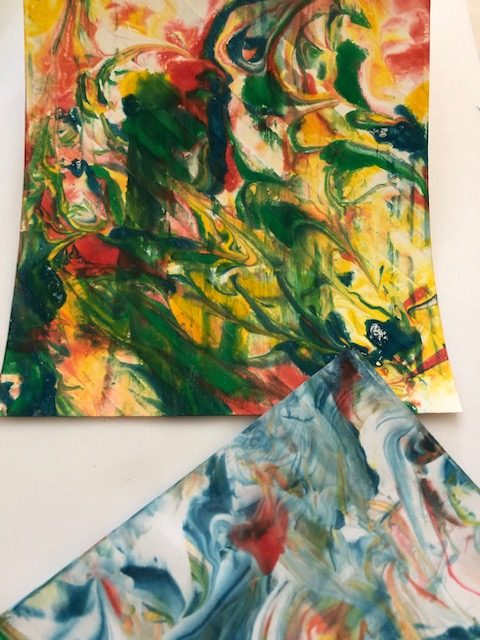
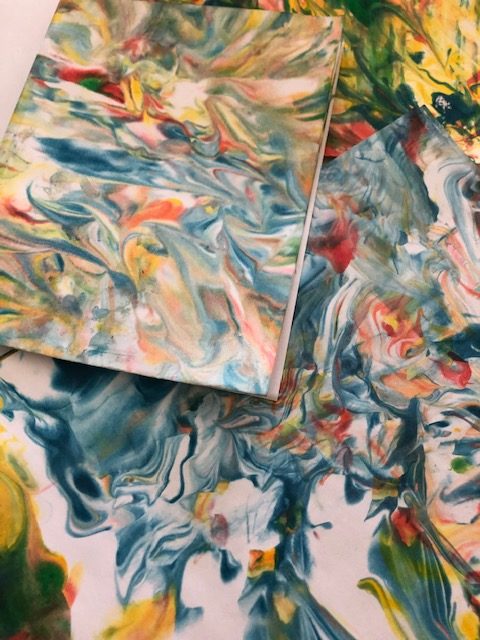
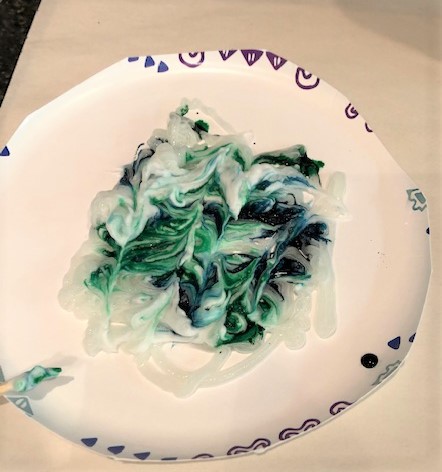
Spray the shaving cream onto a plate in a small layer about half the size of the paper you’ve decided to marble. Put a couple of drops of food coloring into the cream in various places. Pick one color or however many colors as you’d like. I chose a variety of colors on different papers. Use the kabob stick or edge you are using to LIGHTLY swirl the colors around the foam. Do not mix or stir. Just swirl.
Push the paper down on top of the foam. The food coloring is staining the paper and the foam is just holding the coloring up. Shaving cream allows for the swirls in the color and the beautiful patterns on the paper.
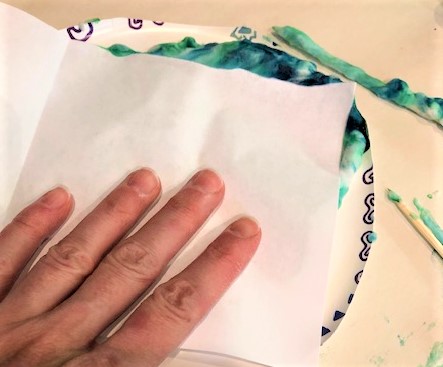
Press for a few seconds to make sure the paper is entirely pressed into the foam. Lift the paper from one edge. Using the cardboard edge (or kabob stick or a ruler, you get the idea), scrape the excess foam off from the paper you just pressed into the foam.
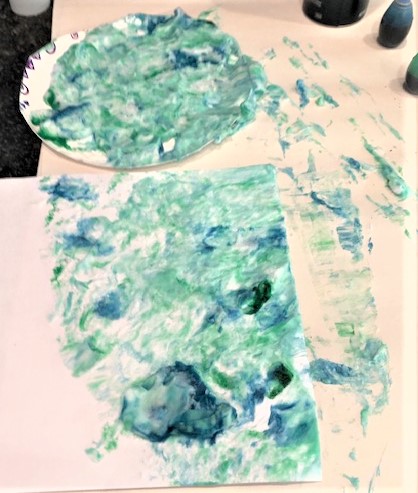
I’m sorry about the blurry photo above. Make sure the paper is completely scraped of any excess foam. Leave the paper to dry overnight – or at least a couple of hours. Depending on the weight of the paper, you should leave something on top of it so it doesn’t curl on the edges. Copy paper will likely curl so put a book on top of it as it dries. I left mine to dry in between a couple of pieces of wax paper with books on top overnight.
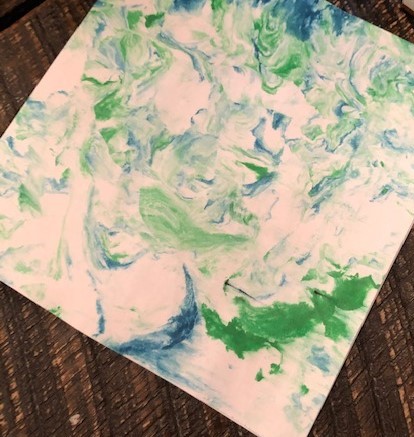
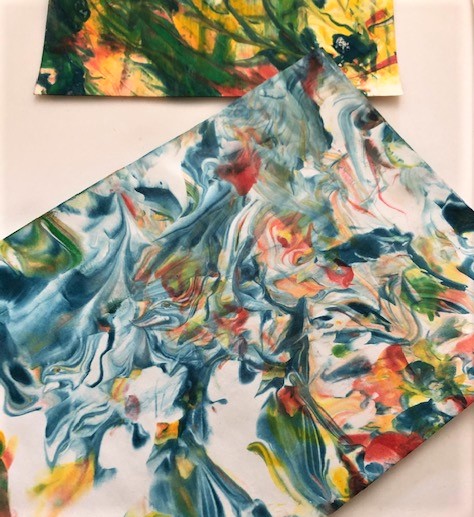
The end result is beautiful – especially incredible given how easy it is. It really looks like art and can be framed or given as a gift. This method for DIY Mother’s Day Cards makes beautiful note cards and cards to give with gifts or a fancy piece of framed art.